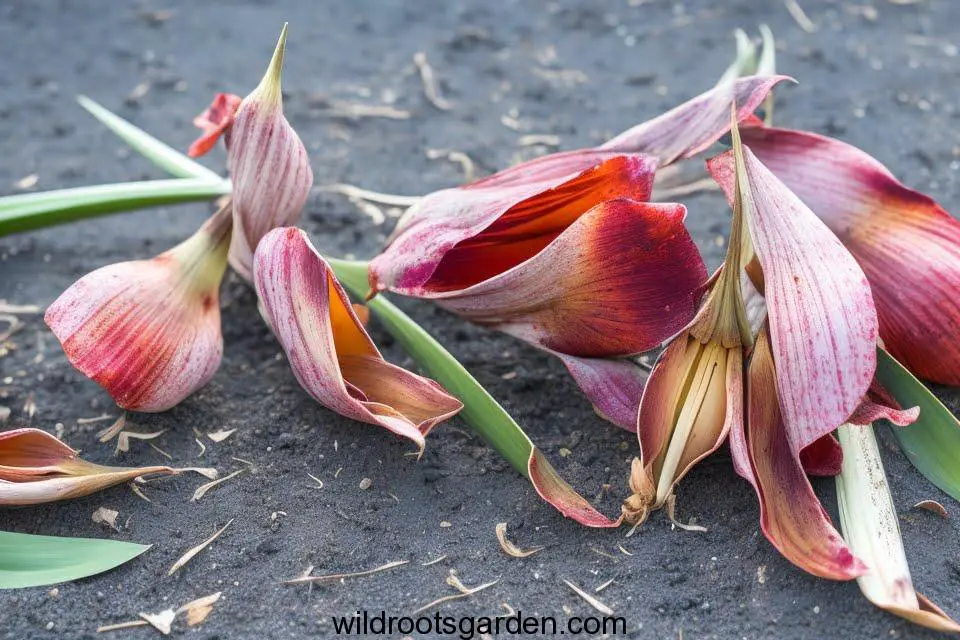
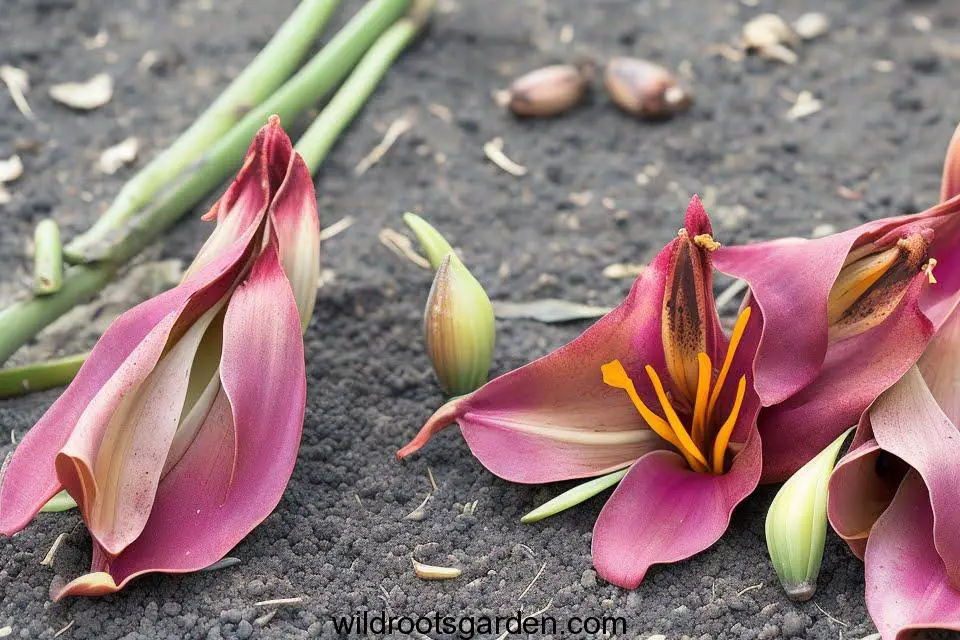
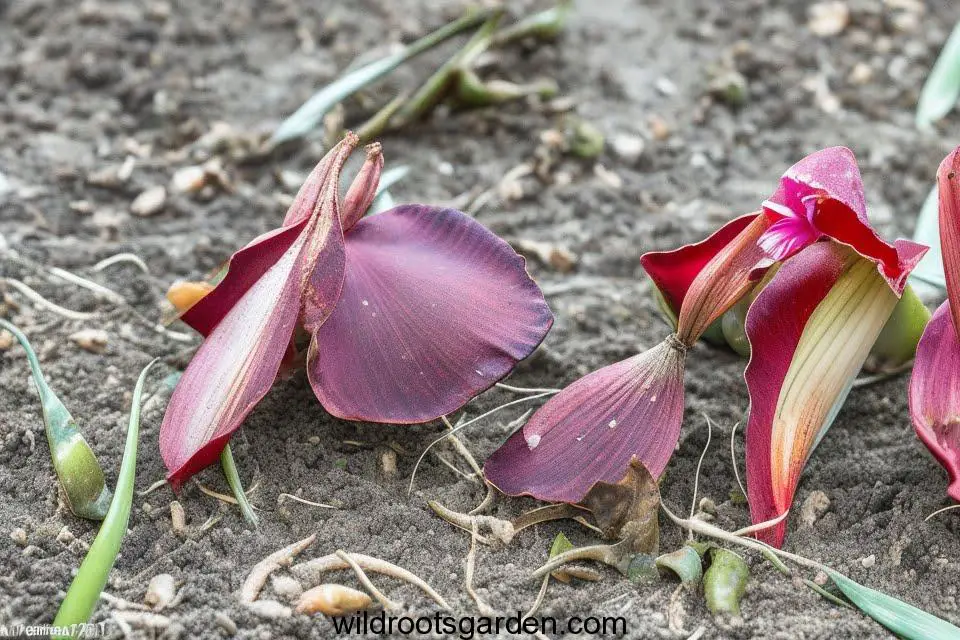
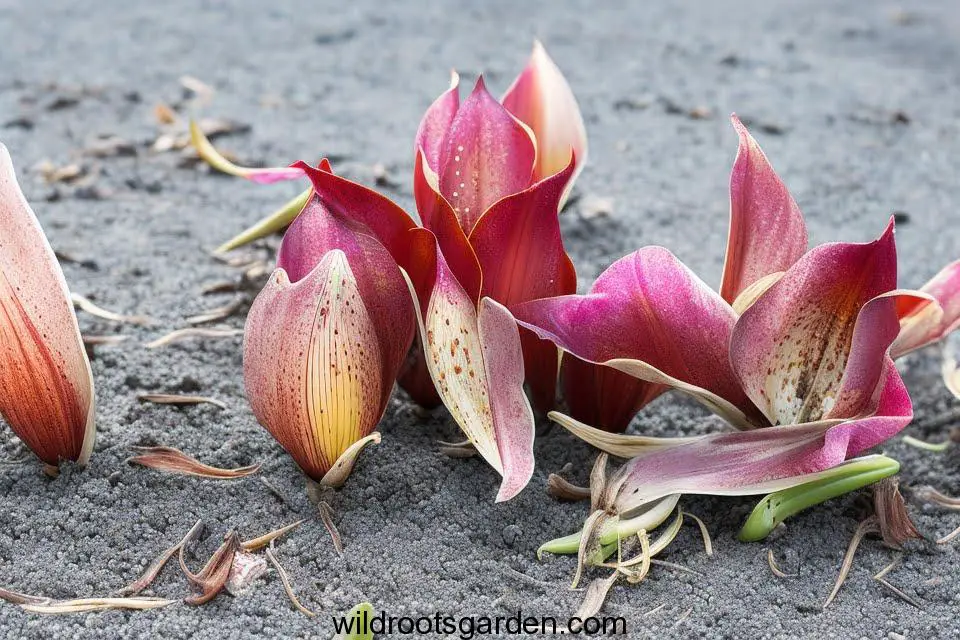
Hello, gardeners and those with green fingers! Have you ever been disappointed to discover that your prized canna lily bulbs had dried out, appeared to be dead, and were unable to bloom to their full, brilliant potential? You are not alone in this situation, so don’t be afraid. The same problem has plagued many gardeners, leaving them perplexed and wondering what went wrong with their beloved flower companions. But don’t worry readers; in this blog post, we’ll look at the widespread issue of dried-out canna lily bulbs, examine its causes, and—most importantly—discover how to revive these botanical beauties into a stunning display of hues that will make your garden once more drowned in glory.
The Problem:
Imagine that you’ve invested time, energy, and love into caring for your canna lilies—carefully planting the bulbs, giving them the ideal ratio of sunlight to water, and excitedly anticipating their magnificent appearance. But, you are met with the depressing sight of dried-out canna lily bulbs that appear to have given up all hope of ever gracing your garden with their regal presence instead of the lush greenery and vivid blossoms you had in mind.
Agitate the Woes:
As gardeners, we’ve all encountered our share of botanical setbacks, and the drying out of canna lily bulbs can be especially disheartening. These magnificent plants are known for their exuberant blooms, and when their bulbs fail to flourish, it can leave us feeling perplexed and demoralized. However, before you throw in the trowel and give up on your gardening dreams, let’s explore the reasons behind this drying dilemma and discover a revitalizing solution.

Understanding Canna Lily Bulbs Dried Out
What causes canna lily bulbs to dry out?
Canna lily bulbs can dry out due to various reasons. Some common factors include:
- Insufficient watering: Lack of water is one of the primary reasons for dried-out canna lily bulbs. These plants require regular watering to maintain their moisture levels.
- Extreme temperatures: Canna lilies thrive in warm climates but can suffer from dehydration if exposed to scorching heat for prolonged periods. High temperatures can accelerate the drying process.
- Poor soil conditions: Inadequate soil moisture retention or nutrient deficiency can lead to canna lily bulbs drying out. The soil should be well-draining and rich in organic matter to support healthy growth.
- Overexposure to sunlight: While canna lilies love sunlight, excessive exposure to intense sunlight can cause their bulbs to dry out. They require a balance of light and shade for optimal growth.
Signs of dried-out canna lily bulbs
To determine if your canna lily bulbs have dried out, watch for the following signs:
- Shrinking and withering bulbs: Dried-out bulbs appear shrunken, dehydrated, and withered. They lose their firmness and become brittle to the touch.
- Brown and crispy foliage: The leaves of canna lilies will turn brown and dry when the bulbs lack moisture. They may curl and become crispy.
- Lack of growth: Dried-out bulbs will show no signs of growth or any new shoots emerging from the soil. The plant may remain dormant or die altogether.

Reviving Dried Out Canna Lily Bulbs
1. Rehydrating the bulbs
The first step in reviving dried-out canna lily bulbs is to rehydrate them. Follow these steps:
- Gently remove the dried bulbs from the soil, taking care not to damage them.
- Fill a bucket or container with room-temperature water.
- Place the bulbs in the water, ensuring they are fully submerged.
- Allow the bulbs to soak for 2-3 hours, giving them enough time to absorb moisture.
- After soaking, remove the bulbs and gently pat them dry with a clean cloth.
2. Inspecting and treating the bulbs
Once rehydrated, inspect the bulbs for any signs of damage or disease. Trim off any rotten or damaged parts using a sterilized knife.
To prevent fungal infections, you can dust the bulbs with a fungicide powder before replanting them. This will protect them during the recovery process.

3. Preparing the planting area
Choose a suitable location in your garden for replanting the canna lily bulbs. Ensure the soil is well-draining and enriched with organic matter. Remove any weeds or debris from the area to create a clean planting bed.
4. Planting the bulbs
Now it’s time to plant your revitalized canna lily bulbs. Follow these steps:
- Dig a hole in the prepared planting area, ensuring it is deep enough to accommodate the bulb’s size.
- Place the bulb in the hole, making sure the growing points face upwards.
- Cover the bulb with soil, gently firming it around the base.
- Water the newly planted bulbs thoroughly to settle the soil and provide initial hydration.
5. Proper care and maintenance
To ensure the successful recovery of your canna lilies, provide them with proper care and maintenance:

- Water regularly: Keep the soil consistently moist but avoid overwatering, as it can lead to root rot. Aim for a balance between dry and waterlogged conditions.
- Mulch the soil: Apply a layer of organic mulch around the plants to conserve moisture, regulate soil temperature, and suppress weed growth.
- Provide shade: If your canna lilies are exposed to intense sunlight, consider providing them with partial shade during the hottest part of the day.
- Fertilize appropriately: Use a balanced fertilizer to provide essential nutrients to your canna lilies. Follow the recommended dosage and frequency for optimal growth.
FAQs (Frequently Asked Questions)
Q: How long does it take for dried-out canna lily bulbs to recover?
A: The recovery time for dried-out canna lily bulbs can vary depending on the severity of the dehydration and the care provided. In most cases, you can expect to see signs of recovery within a few weeks if the bulbs are properly rehydrated and receive adequate care.
Q: Can I save Canna lily bulbs that have been dried out for a long time?
A: While it’s challenging to revive canna lily bulbs that have been dried out for an extended period, there’s still a chance of recovery if the bulbs are not completely desiccated. Follow the steps mentioned earlier and provide extra care and patience.
Q: Should I cut off the dried leaves before rehydrating the canna lily bulbs?
A: It’s best to leave the dried leaves intact until after the bulbs have been rehydrated. The foliage helps the bulbs retain some moisture during the recovery process. Once the bulbs have recovered, you can trim off the dry leaves.
Q: Can I store dried-out canna lily bulbs for future planting?
A: If your canna lily bulbs have dried out, it’s essential to prioritize their revival rather than storing them. Replanting the bulbs and providing proper care will increase their chances of survival. However, if you have excess bulbs or want to store them for the dormant season, ensure they are clean, dry, and stored in a cool, dark place.
Q: Are canna lilies susceptible to pests and diseases when their bulbs are dried out?
A: Dried-out canna lily bulbs are more susceptible to pests and diseases. The weakened bulbs are an easy target for pests, and the lack of moisture creates an environment conducive to fungal infections. It’s crucial to monitor the plants closely and take preventive measures, such as using organic pesticides and fungicides.
Q: Can I divide dried-out canna lily bulbs during the recovery process?
A: It’s not recommended to divide dried-out canna lily bulbs during the recovery process. Dividing the bulbs can cause additional stress and hamper their chances of revival. It’s best to allow the bulbs to recover fully before considering division.
In conclusion, while discovering dried-out canna lily bulbs in your garden may be disheartening, it is essential to remember that even the most seasoned gardeners encounter setbacks. By understanding the root causes of this issue and implementing the appropriate solutions, you can breathe new life into your beloved floral companions.
Don’t give up on your gardening aspirations because you’ve lost hope. Instead, see this difficulty as a chance to improve as a gardener. With the information and advice in this blog article at your disposal, you can confidently take care of your canna lilies and restore them to their former beauty, transforming your garden into a gorgeous paradise.
Keep in mind that gardening is a journey that requires endurance, enthusiasm, and patience. Celebrate each minor triumph as you set out on this green-thumbed quest, and take something valuable from every setback. You will be rewarded with your canna lilies’ radiant beauty and enchanted blossoms, which will saturate your landscape with colour and grace.
So gather your gardening supplies, enjoy the process, and watch your canna lilies grow into a beautiful display of your commitment to and appreciation of the botanical world. Enjoy your garden!

