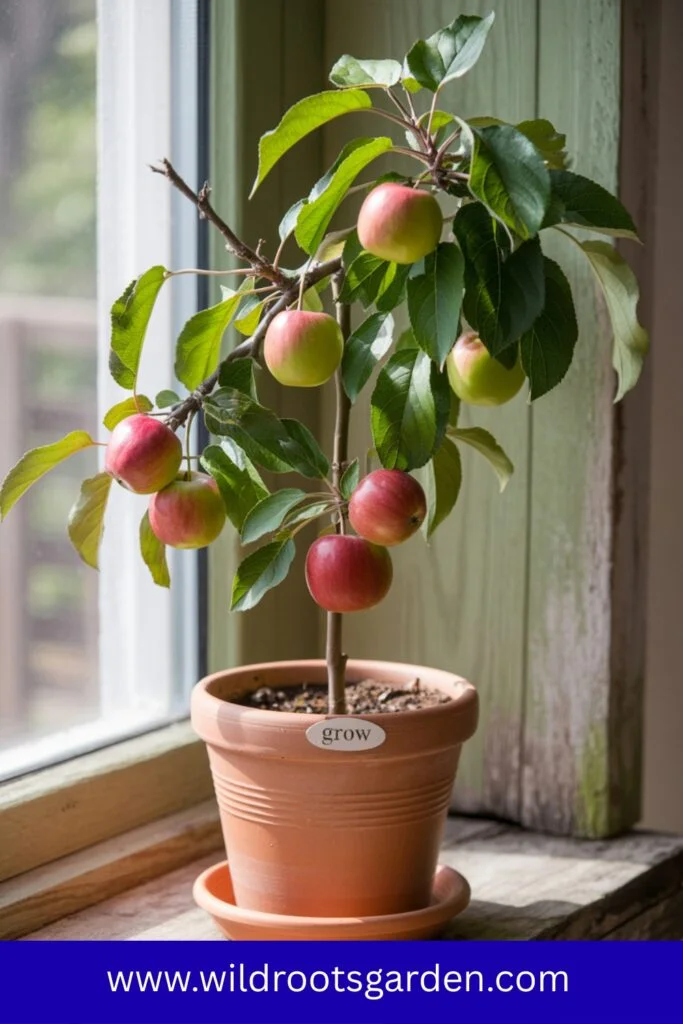
Why Grow an Apple Tree in a Pot?
JUMP TO TOPIC
Step 1: Choose the Right Apple Tree Variety
Not all apple trees are suited for container growing. Opt for dwarf or semi-dwarf varieties, which stay compact (typically 4-8 feet tall) and are ideal for pots. Popular choices include:
- Gala: Sweet, crisp apples, great for eating fresh.
- Honeycrisp: Juicy and flavorful, a favorite for snacking.
- Fuji: Sweet and firm, perfect for small spaces.
- Golden Delicious: Mild, sweet apples, good for cooking and eating.
Check with your local nursery for varieties that thrive in your climate and USDA hardiness zone (most apple trees do well in zones 4-8).

Step 2: Select the Perfect Pot
The container you choose is critical for your apple tree’s health. Here’s what to consider:
- Size: Start with a pot at least 18-24 inches in diameter and depth to accommodate the tree’s roots. As the tree grows, you may need to upgrade to a 30-inch pot.
- Material: Terracotta, plastic, or wooden pots work well. Ensure the pot has drainage holes to prevent root rot.
- Mobility: Consider a pot with wheels or a lightweight material for easy movement, especially if you need to bring the tree indoors during winter.
Step 3: Use the Right Soil Mix
Apple trees need well-draining, nutrient-rich soil. A good mix includes:
- Potting soil: Use a high-quality, loamy potting mix.
- Compost: Add organic compost to boost nutrients.
- Perlite or sand: Mix in for better drainage.
Avoid heavy garden soil, as it can compact and suffocate roots. Aim for a soil pH between 6.0 and 6.5, which is ideal for apple trees.
Step 4: Planting Your Apple Tree
- Prepare the pot: Place a layer of pebbles or broken pottery at the bottom to improve drainage.
- Add soil: Fill the pot halfway with your soil mix.
- Position the tree: Place the tree in the center, ensuring the graft union (the bulge where the tree was grafted onto rootstock) is 2-3 inches above the soil line.
- Fill and water: Add more soil, gently firm it, and water thoroughly to settle the roots.
Step 5: Provide Optimal Growing Conditions
Apple trees need the right environment to thrive:
- Sunlight: Place the pot in a spot with 6-8 hours of direct sunlight daily. South-facing locations are ideal.
- Watering: Keep the soil consistently moist but not waterlogged. Water when the top inch of soil feels dry, typically every 2-3 days in warm weather.
- Temperature: Apple trees require a period of winter chill (32-45°F for 500-1,000 hours, depending on the variety) to produce fruit. If you’re in a warm climate, choose low-chill varieties like Anna or Dorsett Golden.
- Fertilizing: Feed with a balanced fertilizer (e.g., 10-10-10) every 4-6 weeks during the growing season (spring to summer). Avoid over-fertilizing, as it can lead to excessive leaf growth at the expense of fruit.
Step 6: Pruning and Maintenance
Regular pruning keeps your apple tree healthy and productive:
- When to prune: Prune in late winter or early spring while the tree is dormant.
- How to prune: Remove dead, damaged, or crossing branches. Shape the tree to maintain an open center for good air circulation and sunlight penetration.
- Thinning fruit: If your tree produces too many apples, thin them to 1-2 fruits per cluster to ensure larger, healthier apples.
Step 7: Pollination
Most apple trees need cross-pollination from another compatible apple tree variety to produce fruit. If you’re limited to one pot, choose a self-pollinating variety like Golden Delicious or Granny Smith. Alternatively, you can:
- Plant another dwarf apple tree in a separate pot nearby.
- Rely on nearby apple or crabapple trees (within 50 feet) for pollination.
- Hand-pollinate by transferring pollen between flowers using a small brush.
Step 8: Protect Your Tree
- Pests and diseases: Watch for common issues like aphids, spider mites, or powdery mildew. Use neem oil or insecticidal soap for pests and ensure good air circulation to prevent fungal diseases.
- Winter care: In cold climates, move the pot to a sheltered area (like a garage) or wrap it with burlap to protect roots from freezing. Mulch the soil surface with straw or wood chips for insulation.
- Repotting: Every 2-3 years, repot the tree into a slightly larger container to refresh the soil and prevent root-bound growth.
Step 9: Harvesting Apples
Tips for Success
- Rotate the pot: Turn the pot every few weeks to ensure even sunlight exposure.
- Monitor growth: If the tree outgrows its pot, transplant it to a larger one or root-prune to maintain its size.
- Be patient: Container-grown apple trees may produce fewer fruits than those in the ground, but the reward is worth it.

