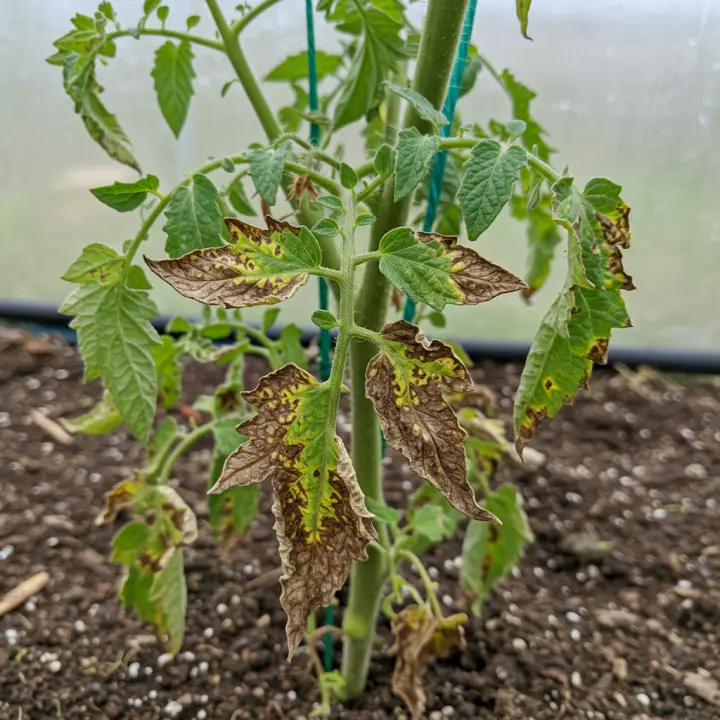
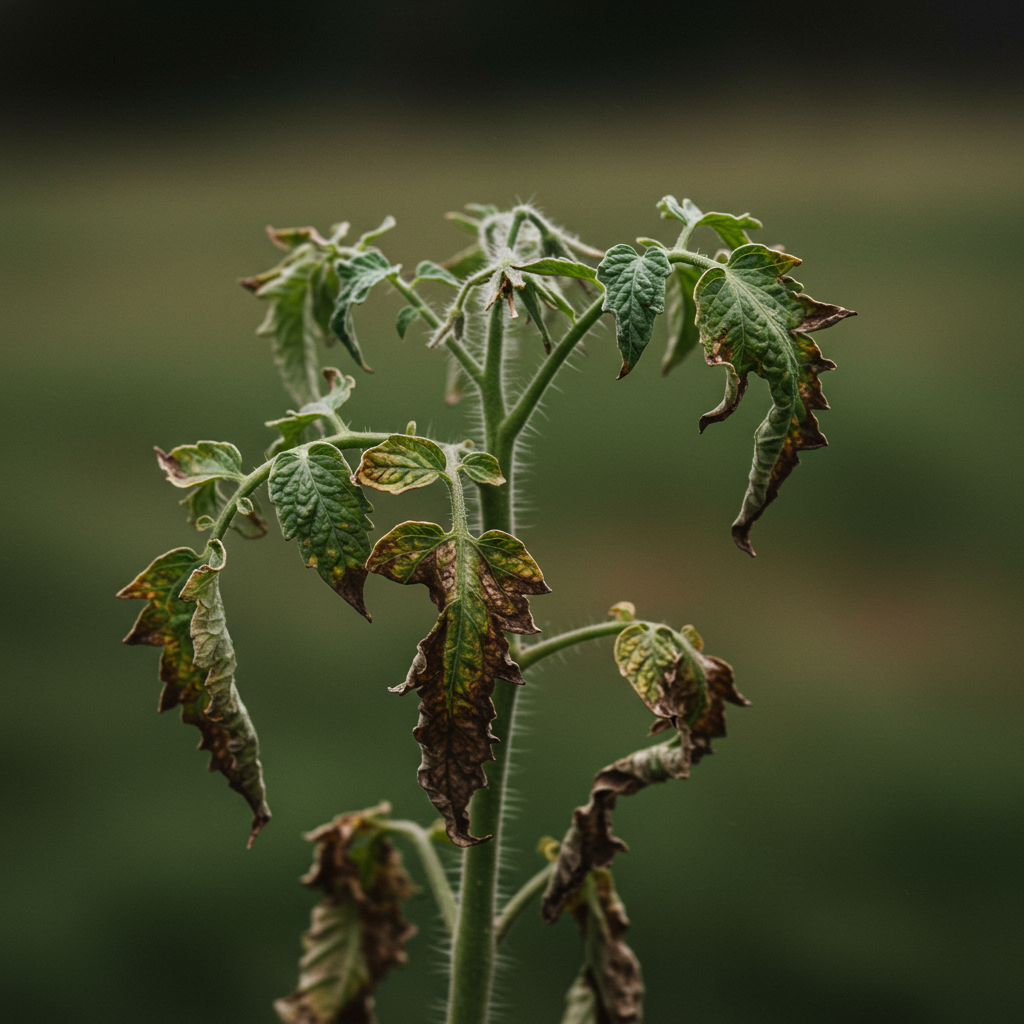
Tomato plant cold damage is a heartbreaking sight for any gardener. You’ve nurtured your seedlings for weeks, watched them grow strong and vibrant indoors, and finally planted them in the garden with high hopes for a summer bounty. Then, an unexpected late spring frost rolls in overnight. The next morning, you’re greeted by blackened, mushy leaves and slumped, lifeless stems. All that hard work, wiped out in a few hours. While the cold weather is the culprit, the true, critical mistake that leads to this garden tragedy is often made days or even weeks earlier. It’s a mistake of impatience and misunderstanding, and avoiding it is the key to a thriving tomato patch.

This guide will walk you through the science of why tomatoes hate the cold, expose the single most critical mistake gardeners make, and provide a complete playbook for protecting your precious plants. By understanding the threat and preparing your defense, you can ensure your tomatoes not only survive but flourish, leading to the delicious, sun-ripened harvest you’ve been dreaming of.
Understanding the Enemy: Why Cold is a Tomato’s Kryptonite
Before we can effectively protect our plants, we need to understand why they are so uniquely vulnerable. Tomatoes (Solanum lycopersicum) are subtropical natives, originally from the Andes Mountains region of South America. Their entire genetic makeup is designed for warm days and mild nights. They simply lack the natural defenses that plants from colder climates possess.
When temperatures drop, several things happen to a tomato plant at a cellular level:
Cellular Damage: The water inside the plant’s cells freezes. As water freezes, it expands and forms sharp ice crystals. These crystals act like tiny knives, puncturing and shredding the cell walls. When the plant thaws, the cells can no longer hold their structure or retain water, resulting in the characteristic black, mushy, and wilted appearance. This is frost damage, and it is irreversible.
Slowed Metabolism: Even without a killing frost, temperatures below 50°F (10°C) are detrimental. At these cooler temperatures, the plant’s metabolic processes grind to a halt. It cannot effectively absorb nutrients (especially phosphorus), produce chlorophyll, or photosynthesize. This leads to stunted growth, yellowing or purplish leaves, and a general failure to thrive.
Flower Drop: One of the most common issues in cool spring weather is blossom drop. Tomatoes are very particular about the temperatures required for pollination and fruit set. If nighttime temperatures consistently dip below 55°F (13°C), the plant will abort its flowers to conserve energy, meaning no fruit will develop from those blossoms.
Key Temperature Thresholds to Know:
50-55°F (10-13°C): The danger zone begins. Growth slows, and flowers may drop.
40°F (4°C): Sustained temperatures at this level can cause chilling injury, leading to poor growth and leaf discoloration.
32°F (0°C): The freezing point. A light frost is possible, which will damage or kill the tender leaves it settles on.
28°F (-2°C): A hard freeze. At this temperature, the damage is more widespread and can quickly kill the entire plant down to the ground.
The Single Most Critical Mistake: Impatience and a Lack of Preparation
So, what is the deadliest mistake? It isn’t leaving your plants uncovered during a surprise frost. The critical mistake is planting tender, unacclimated seedlings into the garden too early, without a proper hardening-off process and a pre-planned frost protection strategy.
It’s an easy trap to fall into. The sun feels warm in mid-spring, the local garden center is overflowing with beautiful tomato starts, and the itch to get gardening is overwhelming. You buy the plants, put them straight into the cool garden soil, and hope for the best.
This is a recipe for disaster. The plants suffer a one-two punch:
1. Transplant Shock: The seedlings have spent their entire lives in a perfectly controlled, warm environment. Suddenly moving them into the harsh, fluctuating conditions of the outdoors—with direct sun, wind, and cool soil—is a profound shock to their system.
2. Cold Vulnerability: A shocked, stressed plant is far more susceptible to cold damage than a strong, acclimated one. When that inevitable late cold snap arrives, the weak plant has no reserves and no resilience to fight back.
The solution is a two-part approach that transforms you from a reactive gardener to a proactive one: hardening off properly and having a protection plan in place before you need it.
Mastering the Art of Hardening Off
Hardening off is the non-negotiable process of gradually acclimating your indoor-grown seedlings to the outdoor environment. This process toughens the plant’s cell walls, thickens its protective cuticle on the leaves, and prepares it for temperature swings. Skipping this makes your plants incredibly fragile.
A Step-by-Step Hardening Off Schedule (7-14 Days):
Day 1-2: Place plants outside in a completely shaded, sheltered spot (e.g., on a covered porch) for 1-2 hours. Bring them back inside.
Day 3-4: Increase their time outside to 3-4 hours, introducing them to a bit of gentle morning sun. Avoid the intense afternoon sun.
Day 5-6: Move them to a spot with about half a day of sunlight. Increase their time outside to 5-6 hours. If the nights are mild (above 55°F / 13°C), you can start leaving them out.
Day 7-10: Gradually increase the amount of direct sun and the total time they spend outside. They should now be able to handle a full day in their final planting location.
Day 11-14: If nighttime temperatures are consistently and safely above 50°F (10°C), you can leave them outside overnight in their pots.
After this process, your plants will be structurally stronger and far more resilient to the stresses of garden life, including cooler temperatures.
Your Proactive Defense Against Tomato Plant Cold Damage
Once your plants are hardened off and the time is right, you still need a plan for those unpredictable weather events. Successful tomato growing isn’t about avoiding cold altogether; it’s about being ready for it.
1. Strategic Timing and Placement
Know Your Last Frost Date: Look up the average last frost date for your specific region. This is a crucial piece of information. However, treat it as a guideline, not a guarantee.
The Two-Week Rule: For best results, wait to plant your tomatoes in the ground until at least one to two weeks after your average last frost date. This extra time allows the soil to warm up significantly, which is just as important as the air temperature.
Harness Microclimates: Every garden has warmer and cooler spots. Planting near a south-facing brick wall or a stone path that absorbs and radiates heat can provide a few degrees of extra warmth and protection. Avoid low-lying areas where cold air tends to settle.
2. Assemble Your Frost Protection Toolkit
Don’t wait until a frost warning is issued at 10 PM. Having your materials ready to go allows you to act quickly and effectively.
Fabric Row Covers (The Best Option): These are lightweight, breathable fabrics specifically designed for frost protection. They trap ground heat while allowing moisture to escape, preventing condensation from freezing on the leaves. They come in different weights for different levels of protection.
Old Blankets and Sheets: A classic, effective solution. Drape them over your plants in the evening before the temperature drops. The key is to create a tent that traps the earth’s radiating heat. Crucially, do not let the fabric rest directly on the plants. Use stakes, tomato cages, or lawn chairs to create a frame that keeps the cover elevated above the foliage.
Buckets, Bins, and Flower Pots: For smaller, individual plants, simply inverting a 5-gallon bucket or a large pot over them works perfectly. This creates an individual greenhouse effect, trapping warmth. Remember to weigh them down with a rock if it’s windy.
The Plastic Sheeting Trap (Use with Caution): While it seems like a great insulator, clear or black plastic can be a Gethsemane if used incorrectly. If plastic touches the leaves, the moisture on the leaf will freeze to the plastic, causing more damage than no cover at all. Plastic is only effective if it’s draped over a frame (like a mini hoop house) and doesn’t make contact with the foliage. It also must be removed first thing in the morning, as it can quickly overheat and cook your plants once the sun comes out.
* Water

