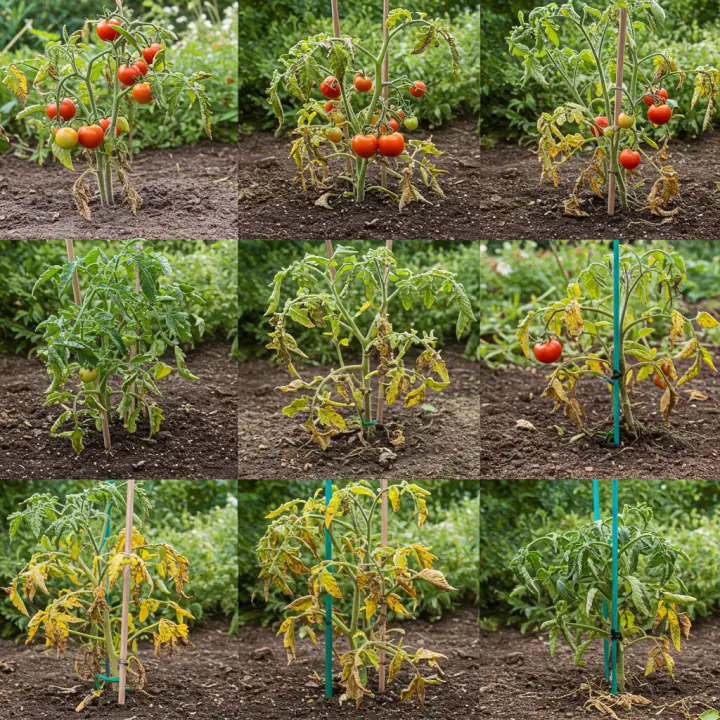
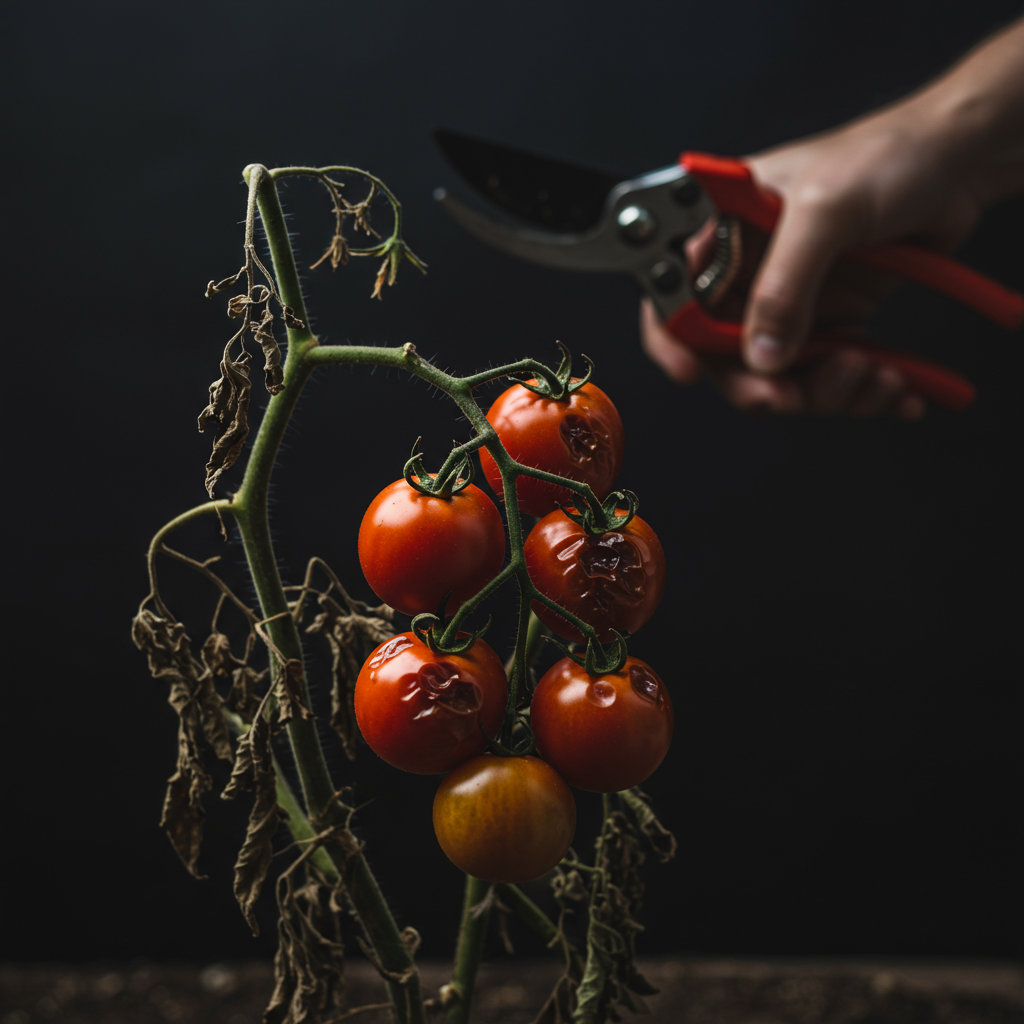
Tomato plant mistakes are the frustrating hurdles that stand between a gardener’s vibrant dream of a bountiful, sun-ripened harvest and the disappointing reality of withered, fruitless plants. Every gardener, from the novice with a single pot on their balcony to the seasoned veteran with sprawling garden beds, has experienced the sting of a tomato-growing failure. You envision juicy, flavorful fruits perfect for salads, sauces, and sandwiches. But instead, you’re faced with yellowing leaves, cracked skins, black spots, or a magnificent green plant that stubbornly refuses to produce a single tomato.
The good news is that most of these devastating outcomes are not the result of bad luck, but rather a few common, critical, and entirely correctable errors. Growing tomatoes is a science and an art, but it doesn’t require a master’s degree in horticulture. It simply requires understanding what these plants need to thrive and avoiding the pitfalls that can sabotage their growth. This guide will walk you through the ten worst critical errors gardeners make, explaining not just what they are, but why they are so detrimental and how you can avoid them to ensure your tomato patch is a source of pride and produce.
Critical Error #1: Planting Too Early

The temptation is immense. The last frost has passed, the local garden center is bursting with healthy-looking tomato starts, and you’re eager to get a jump on the season. However, rushing your tomato plants into the ground is one of the most common and damaging mistakes you can make.
Why It’s a Problem: Tomatoes are warm-weather lovers. While they may survive a cool spring day, cold soil is their enemy. Soil temperatures below 55-60°F (12-15°C) will severely stunt their growth. The roots are unable to effectively absorb water and crucial nutrients like phosphorus, which is vital for root development. This early stress can lead to weak, leggy plants that are more susceptible to diseases and may never fully recover, producing a meager harvest much later than you’d hoped.
How to Spot It: Your newly planted tomatoes just… sit there. They don’t seem to grow, their leaves may turn a purplish color (a classic sign of phosphorus deficiency caused by cold soil), and they look frail and unhappy.
The Solution:
Patience is Key: Wait until the soil temperature is consistently above 60°F. A simple soil thermometer is an excellent investment. Generally, this means waiting at least one to two weeks after the last frost date for your region.
Harden Off Your Seedlings: Never move seedlings directly from a protected indoor environment to the garden. Acclimate them over 7-10 days by placing them outside for a few hours in a sheltered spot, gradually increasing their exposure to direct sun and wind each day. This process, known as “hardening off,” toughens the plant and prevents transplant shock.
Critical Error #2: Ignoring Sunlight Requirements
Tomatoes are sun-worshippers, plain and simple. Placing them in a shady corner of your yard and hoping for the best is a recipe for disappointment.
Why It’s a Problem: Photosynthesis, the process plants use to convert sunlight into energy, is the engine of growth and fruit production. Without adequate sun, this engine sputters. Your tomato plant will spend all its energy growing tall and spindly (“leggy”) as it desperately reaches for light, leaving very little energy for developing strong stems, flowers, and ultimately, fruit.
How to Spot It: The plant is tall with long, thin stems and sparse foliage. Leaf color might be a pale green instead of a rich, dark green. You’ll see very few, if any, flower blossoms.
The Solution:
Scout the Perfect Location: Before you even dig a hole, observe your yard throughout the day. Find a spot that receives a minimum of 6 to 8 hours of direct, uninterrupted sunlight. For gardeners in extremely hot climates, a location with morning sun and some light afternoon shade can help prevent sunscald on the fruit, but 6 hours remains the minimum.
Critical Error #3: Inadequate Soil Preparation
Throwing a tomato plant into hard, compacted, nutrient-poor soil is like asking an athlete to run a marathon without food or water. The foundation of a healthy plant is healthy soil.
Why It’s a Problem: Tomato roots need to spread out easily to find water and nutrients. Compacted clay soil prevents root growth and drains poorly, leading to root rot. Sandy soil drains too quickly, washing away water and nutrients before the plant can absorb them. Nutrient-deficient soil simply cannot provide the fuel required for vigorous growth and fruit production.
The Solution:
Amend, Amend, Amend: Whether you have clay or sandy soil, the solution is organic matter. Before planting, work several inches of well-rotted compost or manure into the top 8-12 inches of your garden bed. This improves drainage in clay soil and water retention in sandy soil, all while providing a slow-release source of essential nutrients.
For Container Gardeners: Never use soil from your garden in a pot. It will compact quickly and choke the roots. Use a high-quality potting mix specifically formulated for containers, which is designed to be light, airy, and retain the proper amount of moisture.
A Closer Look at Common Tomato Plant Mistakes
The next set of errors often occur after the plants are already in the ground. These are maintenance mistakes that can turn a promising start into a frustrating failure.
Critical Error #4: Inconsistent or Improper Watering
Water is life, but the wrong watering technique is one of the quickest ways to kill a tomato plant or ruin its fruit. Two major watering blunders are particularly common.
Sub-Mistake A: Inconsistent Watering
Why It’s a Problem: Allowing the soil to swing between bone-dry and soaking wet puts immense stress on the plant. This fluctuation is the primary cause of two heartbreaking problems:
1. Blossom End Rot: That dreaded black, leathery spot on the bottom of the fruit isn’t a disease. It’s a calcium deficiency within the fruit. The plant may have enough calcium in the soil, but inconsistent watering prevents it from effectively transporting that calcium to the developing tomatoes.
2. Fruit Cracking: When a dry plant suddenly receives a large amount of water (from a heavy rain or a guilty gardener), the fruit takes it up too quickly, causing the skin to expand faster than it can grow, resulting in deep cracks.
Sub-Mistake B: Overhead Watering
Why It’s a Problem: Splashing water all over the leaves is an open invitation for fungal diseases. Spores for common tomato ailments like Early Blight, Late Blight, and Septoria Leaf Spot thrive in moist, humid conditions. Wet leaves, especially overnight, create the perfect breeding ground for these diseases to take hold and spread.
The Solution for Both:
Water Deeply and Infrequently: Instead of a light sprinkle every day, provide a deep, thorough soaking at the base of the plant 2-3 times a week (more in extreme heat). This encourages the roots to grow deep into the soil where moisture is more consistent.
Aim for the Base: Always water the soil, not the plant. Use a soaker hose, drip irrigation, or a watering can directed at the soil level. If you must use a sprinkler, do it early in the morning so the leaves have all day to dry in the sun.
Mulch is Your Best Friend: Apply a 2-3 inch layer of organic mulch (straw, shredded leaves, or wood chips) around your plants. Mulch helps retain soil moisture, preventing the wild dry-to-wet swings, and also suppresses weeds and keeps soil-borne disease spores from splashing onto the lower leaves.
Critical Error #5: Fertilizing Fumbles
Feeding your tomatoes is crucial, but feeding them the wrong thing or at the wrong time can be worse than not feeding them at all.
Why It’s a Problem: The most common mistake is using a fertilizer with too much nitrogen. Nitrogen promotes lush, green foliage growth. While a little is needed early on, excessive nitrogen will give you a beautiful, jungle-like plant with very few flowers or fruit. The plant is putting all its energy into making leaves, not tomatoes.
The Solution:
Start with Balanced Nutrition: If you’ve prepared your soil with plenty of compost, your plants have a great head start.
* Switch Fertilizers After Fruiting:** Once the plant begins to set fruit, switch to a fertilizer that is lower in nitrogen and higher in phosphorus (

