
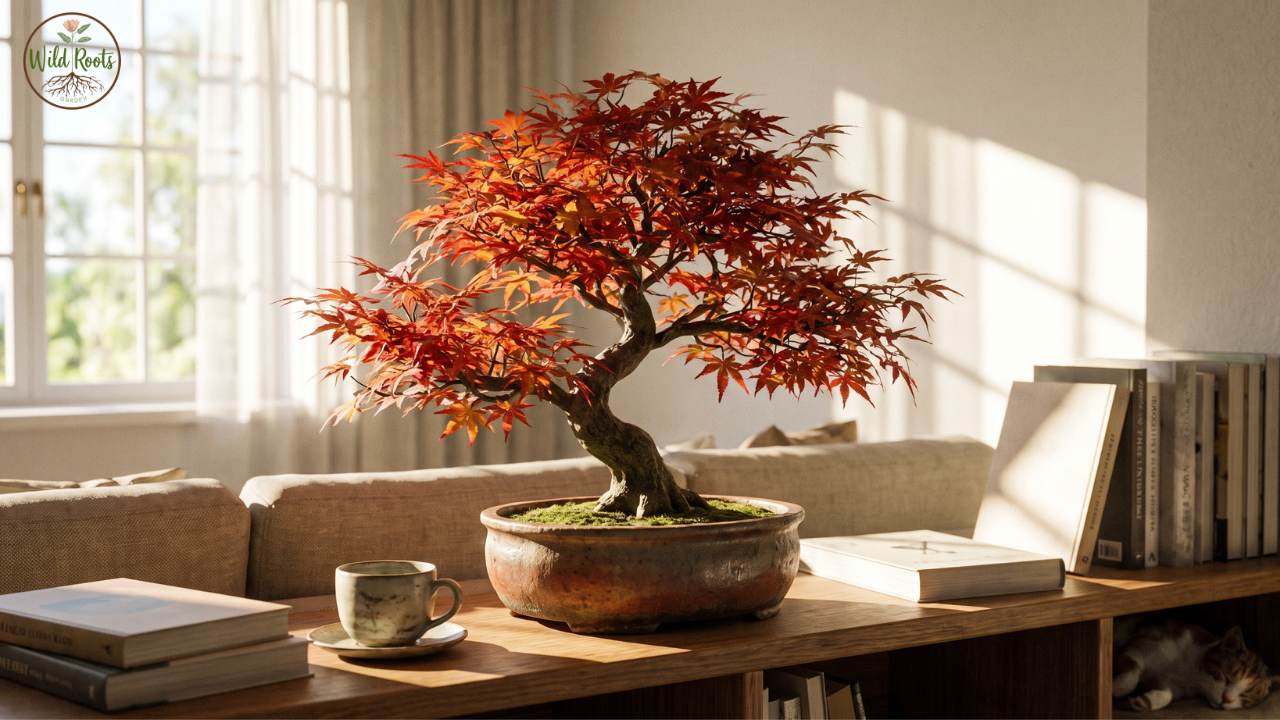
My first attempt at an artificial bonsai looked more like a wire hanger with green pom-poms glued to it than anything resembling a tree. That was almost six years ago. Since then, I’ve made close to a dozen of these — some for my own shelves, several as gifts, and two that I sold at a local craft fair after people kept asking where I bought them. I’m not a professional bonsai artist, and I’ll say upfront that I don’t grow live bonsai (the patience required for that is a different beast entirely). What I do know, from a lot of trial and error, is how to build a convincing, durable artificial one using materials you can find at a craft store or online. Here’s exactly how I do it.
Why Make an Artificial Bonsai Instead of Growing a Real One
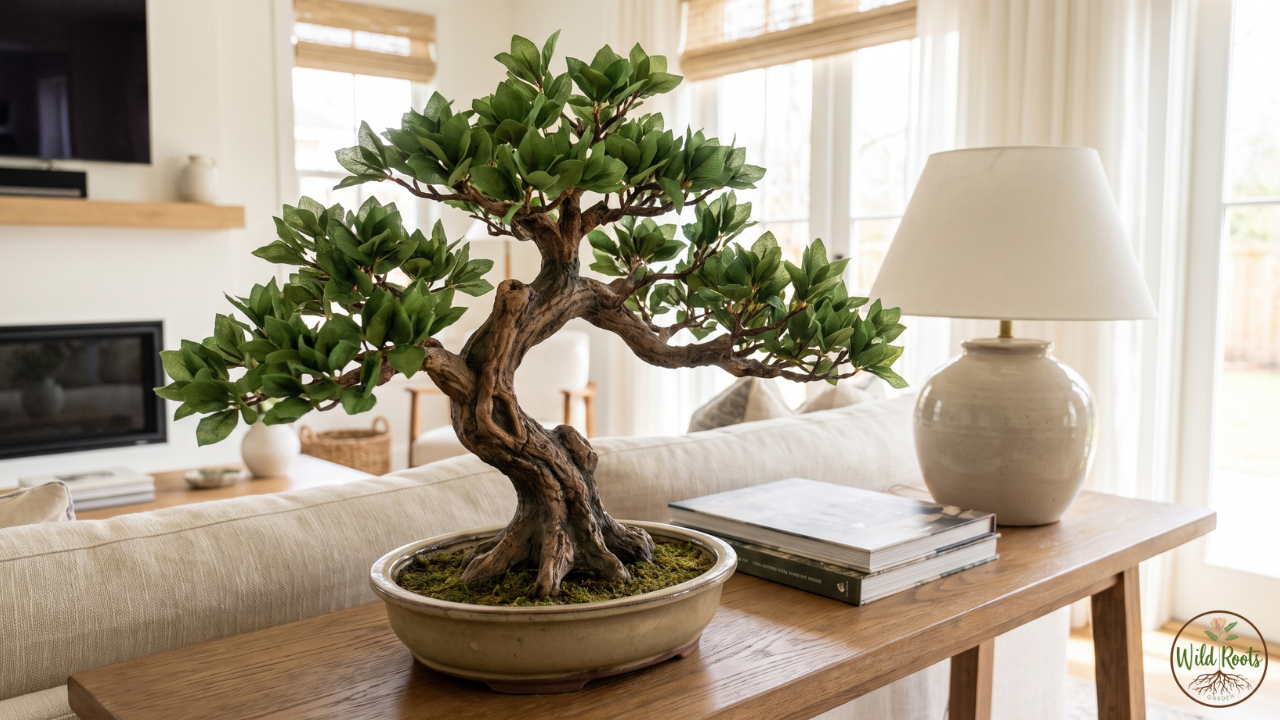
I get asked this a lot, so it’s worth addressing before the steps. Real bonsai take years of pruning, precise watering, and seasonal care — and they can still die from one bad week of neglect. An artificial bonsai gives you the aesthetic of that gnarled, sculptural tree shape without any of that risk. It’s also the better option if you travel often, keep pets or curious kids around, or just want a piece for a low-light office where a live plant wouldn’t survive anyway.
What You’ll Need
Based on what’s worked best across my own builds, here’s my go-to materials list:
- Aluminum or copper wire (18–20 gauge for the trunk, thinner 22–24 gauge for branches) — this is what gives the tree its bendable, tree-like structure
- Floral tape (brown or green) to wrap the wire and create bark-like texture
- Air-dry clay or paper clay for building up the trunk’s thickness and texture
- Artificial leaves or moss clusters — small-leafed varieties (like boxwood or juniper-style craft leaves) look the most realistic at bonsai scale
- A shallow bonsai pot or dish (ceramic works best for weight and authenticity)
- Floral foam or quick-setting plaster to anchor the tree in the pot
- Decorative moss, small pebbles, or fine gravel for the pot’s surface
- Acrylic paint (brown, gray, green tones) for finishing the trunk
- Wire cutters and a hot glue gun
I’ve tried skipping the clay step to save time, and the difference is noticeable — wire alone looks too thin and uniform, while clay lets you sculpt the natural taper and knots real trunks have.
Step 1: Design Your Trunk Shape First
Before touching any materials, I sketch or at least visualize the silhouette I want. Classic bonsai styles include the upright formal (straight, tapering trunk), informal upright (gentle curves), and the more dramatic cascade style (trunk bends downward over the pot’s edge). For a first attempt, I’d recommend the informal upright — it’s the most forgiving and still looks intentional even with imperfect bends.
Step 2: Build the Wire Armature
Take three to five lengths of your thicker wire and twist them together to form the main trunk, leaving individual strands loose at the top to become branches. This is the step I rushed the most in my early attempts, and it showed — a trunk with only one or two wires looks flimsy and bends unnaturally over time.
Bend the twisted trunk into your chosen shape now, while it’s still easy to manipulate. I always bend more than I think I need, since wrapping it in clay and tape later stiffens everything and makes further adjustment difficult.
Step 3: Wrap With Floral Tape
Wrap the entire wire structure in floral tape, stretching it slightly as you go so it adheres to itself. This step does two things: it hides the bare wire and gives the clay something textured to grip onto in the next step. I go over high-visibility areas (the main trunk, especially) twice for a fuller look.
Step 4: Sculpt the Trunk With Clay
This is where the tree starts looking like a tree rather than a wire sculpture. Take small amounts of air-dry clay and press it around the taped trunk, building it up thicker at the base and tapering toward the top — that’s the detail that sells the illusion of age and growth. I use a toothpick or small sculpting tool to add vertical grooves and a few knots or bumps, mimicking real bark texture.
Let this dry fully before moving on — in my experience, that’s anywhere from 12 to 24 hours depending on how thick you’ve applied it and your local humidity.
Step 5: Paint the Trunk
Once dry, paint the trunk in layered tones rather than one flat color. I start with a base coat of medium brown, then dry-brush a lighter tan or gray over the raised texture to make the grooves pop, and finally add a touch of dark brown or black in the recesses for depth. This layering step is what separates a convincing trunk from an obviously fake one — I skipped it on my second attempt and regretted how flat it looked in photos.
Step 6: Attach the Leaves
Working branch by branch, apply hot glue in small dots along each wire branch tip and press on your artificial leaf clusters. I build up leaf density gradually and step back frequently to check the silhouette — bonsai aesthetics favor open, visible branch structure with leaves clustered at the ends, not one solid green blob. This is a step where less is genuinely more.
Step 7: Pot and Finish
Secure the finished tree into your pot using floral foam or quick-setting plaster, positioning it slightly off-center for a more natural, asymmetrical look (dead-center placement is one of the fastest ways to make an arrangement look artificial). Once it’s anchored and set, cover the surface with moss, fine gravel, or small decorative stones to hide the foam or plaster base.
Mistakes I’ve Made (and What I’d Do Differently)
- Using too few wire strands for the trunk — it looked thin and eventually drooped under the weight of the leaves.
- Skipping the layered paint step — a single flat brown coat photographs poorly and looks obviously synthetic up close.
- Overloading the branches with leaves — real bonsai are prized for their visible structure; too much foliage hides the trunk work you just spent hours on.
- Not letting the clay dry fully before painting — I once rushed this and the paint cracked as the clay continued to dry underneath.
Final Thoughts
Making an artificial bonsai at home isn’t difficult, but it does reward patience at each stage rather than rushing to the finished product. My best results have always come from builds where I let the clay dry properly and took the time to layer the paint — the steps that feel most tempting to skip. If you’re trying this for the first time, I’d suggest starting with a simple informal upright style before attempting anything with dramatic curves or cascading branches. Once you’ve got the basic technique down, it becomes a genuinely relaxing hobby, and a much better office desk companion than the succulent I inevitably forget to water.