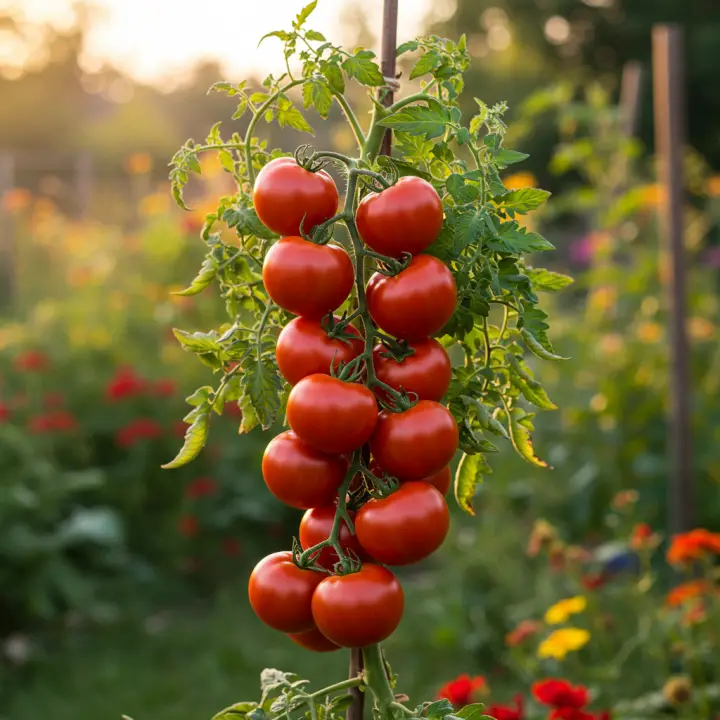
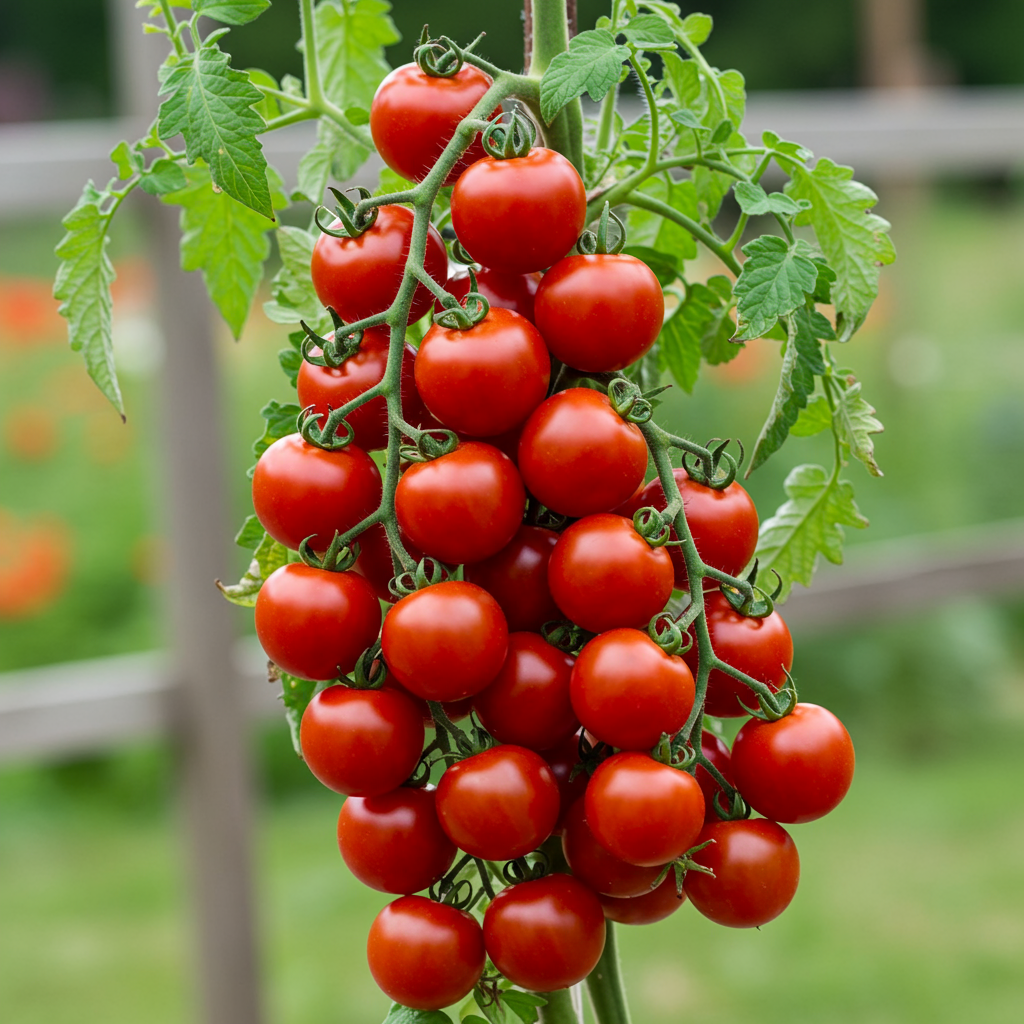
100 pounds tomatoes one plant sounds less like a gardening goal and more like a tall tale told among seasoned gardeners after a long day in the sun. It seems like an exaggeration, a number so high it borders on the impossible. Most home gardeners are thrilled to get 10, 20, or even 30 pounds from a single, healthy plant. But the truth is, achieving a truly monumental harvest from one plant isn’t a myth. It is, however, a project. It requires dedication, the right knowledge, and a commitment to treating your tomato plant not just as a garden vegetable, but as a high-performance athlete. This isn’t about simply sticking a seedling in the ground and hoping for the best; it’s about creating the perfect environment and providing meticulous care from seed to final harvest. This comprehensive guide will walk you through the essential steps, from foundational soil preparation to advanced training techniques, to turn that unbelievable goal into a delicious, tangible reality in your own backyard.

Is This Goal Actually Realistic?
Before we dive into the “how,” let’s address the elephant in the room: is a 100-pound harvest from a single plant truly possible for the average home gardener? The answer is a qualified yes.
It’s not going to happen with a determinate ‘Roma’ tomato in a 5-gallon bucket on a shady patio. Success on this scale hinges on three non-negotiable factors:
1. The Right Variety: You need a large, vigorous, indeterminate vine that is genetically programmed to keep growing and producing until the first frost.
2. A Long Growing Season: To produce this much fruit, the plant needs time. Gardeners in regions with at least 5-6 months of frost-free weather have a distinct advantage. Those in shorter-season climates may need to utilize greenhouses or other season-extending techniques.
3. Unwavering Dedication: This is the most crucial element. You must be willing to invest time and effort weekly, if not daily, in feeding, watering, pruning, and supporting your plant.
If you can provide these three things, you are well on your way. Think of this not as a casual experiment, but as your master gardening project for the season.
The Foundation: Building a Tomato Paradise
You wouldn’t build a skyscraper on a weak foundation, and you can’t grow a 100-pound tomato plant in poor soil. The work you do before the plant even goes in the ground will account for more than half of your success.
1. Choosing Your Champion Variety
The single most important decision you’ll make is your choice of tomato variety. You are looking for an indeterminate type. Indeterminate tomatoes grow as vines that continue to lengthen, set flowers, and produce fruit all season long until killed by frost. Determinate (or “bush”) varieties grow to a fixed size, produce their fruit in a concentrated period, and are finished.
Look for vigorous, disease-resistant indeterminate varieties known for producing large fruit or massive clusters. Excellent candidates include:
Beefsteak Varieties: ‘Big Boy’, ‘Beefmaster’, ‘Mortgage Lifter’, ‘German Johnson’. These are renowned for their massive size and robust plant growth.
Prolific Cherry Tomatoes: While the individual fruits are small, varieties like ‘Sungold’ or ‘Sweet Million’ can produce such an overwhelming number of trusses that their total weight can become astronomical. Harvesting 100 pounds of cherry tomatoes is a lot of picking, but the plant’s potential is enormous.
Proven Hybrids: Hybrids like ‘Big Beef Plus’ or ‘Celebrity Plus’ are often bred for exceptional vigor and disease resistance, making them reliable workhorses for this kind of project.
2. Site Selection: The Power of the Sun
Your chosen location must receive a minimum of 8-10 hours of direct, unfiltered sunlight per day. Tomatoes are sun-worshipping plants, and photosynthesis is the engine that powers fruit production. Less sun means less energy, less growth, and a smaller harvest.
The site also needs space. You’ll need an area of at least 4×4 feet for the root zone and a vertical space of 8-10 feet for the vine to climb. Don’t underestimate how large this plant will become.
3. Soil Preparation: Feeding the Beast from Below
This is where the magic happens. Your soil needs to be a deep, nutrient-rich, well-draining loam. Your goal is to create a root system that can support a massive factory of leaves and fruit above ground.
Dig Deep: Excavate a planting hole that is at least 2 feet deep and 3 feet wide. Yes, it’s a lot of work, but it’s absolutely essential. Loosen the soil at the bottom of the hole as well.
Amend Generously: Backfill the hole with a premium mix of soil and organic matter. A good recipe is:
50% High-Quality Garden Soil or Topsoil: This provides the basic structure.
40% Aged Compost or Well-Rotted Manure: This is the lifeblood. Compost provides a slow-release source of balanced nutrients, improves soil structure, aids in water retention, and introduces beneficial microbes.
10% Other Amendments: Add a mix of things like kelp meal (for micronutrients), worm castings (for microbial activity), and a handful of bone meal or a high-phosphorus fertilizer to promote strong root development and future blossoms.
Check pH: Tomatoes thrive in a slightly acidic soil with a pH between 6.0 and 6.8. A simple soil test kit can tell you where you stand. You can add garden lime to raise the pH or sulfur to lower it, if necessary.
Planting for Explosive Growth
With your foundation laid, the planting process itself is designed to give your seedling an incredible head start.
Start with a strong, healthy seedling that is 8-12 inches tall. A week before planting, begin “hardening it off” by gradually exposing it to outdoor conditions.
When you’re ready to plant, gently pinch off the lowest sets of leaves, leaving only the top cluster. Plant the seedling deep in your prepared hole, burying the now-bare stem. Tomatoes have the unique ability to grow new roots (adventitious roots) all along their buried stems. By planting deep, you are essentially tricking the plant into creating a massive, supercharged root system that will anchor it and absorb a phenomenal amount of water and nutrients.
The System: Training, Feeding, and Watering for Maximum Yield
Once the plant is in the ground, your job as its coach and caretaker begins. Consistency is key.
1. Support is Everything: The Indestructible Trellis
A standard, cone-shaped tomato cage from a big-box store will fail. It will buckle under the weight of the foliage and fruit long before you reach 50 pounds, let alone 100. You need a structure that is tall, wide, and incredibly strong.
Cattle Panel or Hog Panel: These are rigid, welded wire fence panels. You can create an arch or a tall, vertical wall for the tomato to climb. They are strong enough to support hundreds of pounds and provide ample attachment points.
T-Posts and Woven Wire: Drive heavy-duty metal T-posts deep into the ground on either side of the plant and string strong fencing or concrete reinforcement wire between them.
Custom Pergola or Arbor: A permanent wooden structure can serve as a beautiful and functional support system year after year.
As the plant grows, you must diligently tie its stems to the support structure using soft ties, like strips of fabric or wide garden twine, to avoid damaging the stems.
2. Pruning and Training: The Multi-Stem Method for a 100 Pounds Tomatoes One Plant Harvest
Standard advice for indeterminate tomatoes is to prune them to a single main stem to encourage larger, earlier fruit. For this project, we are doing the opposite. Our goal is mass, and to get mass, we need more fruit-producing stems. We will train the plant to have 2 to 4 main leaders.
1. Initial Growth: When the plant is young, allow it to grow to about 18-24 inches tall.
2. Select Your Leaders: Identify the main stem. Then, look for the first one, two, or three strongest, thickest “suckers” growing from the crotch between the main stem and a leaf branch low on the plant. A sucker is simply a new stem.
3. Establish the Leaders: Allow these chosen suckers to grow. They will become your secondary main stems. Train each of these stems, along with the original main stem, up your trellis as if they were individual plants. Space them out for maximum airflow and sun exposure.
4. Prune Everything Else: From this point on, you will be ruthless. Every week, inspect your plant and remove all other new suckers that appear on your main leaders. You want the plant to pour all its energy into your chosen 2-4 stems, their leaves, and their fruit—not into creating a tangled mess of new vegetative growth. Also, remove any yellowing or diseased leaves at the bottom of the plant to improve air circulation and prevent soil-borne diseases.

