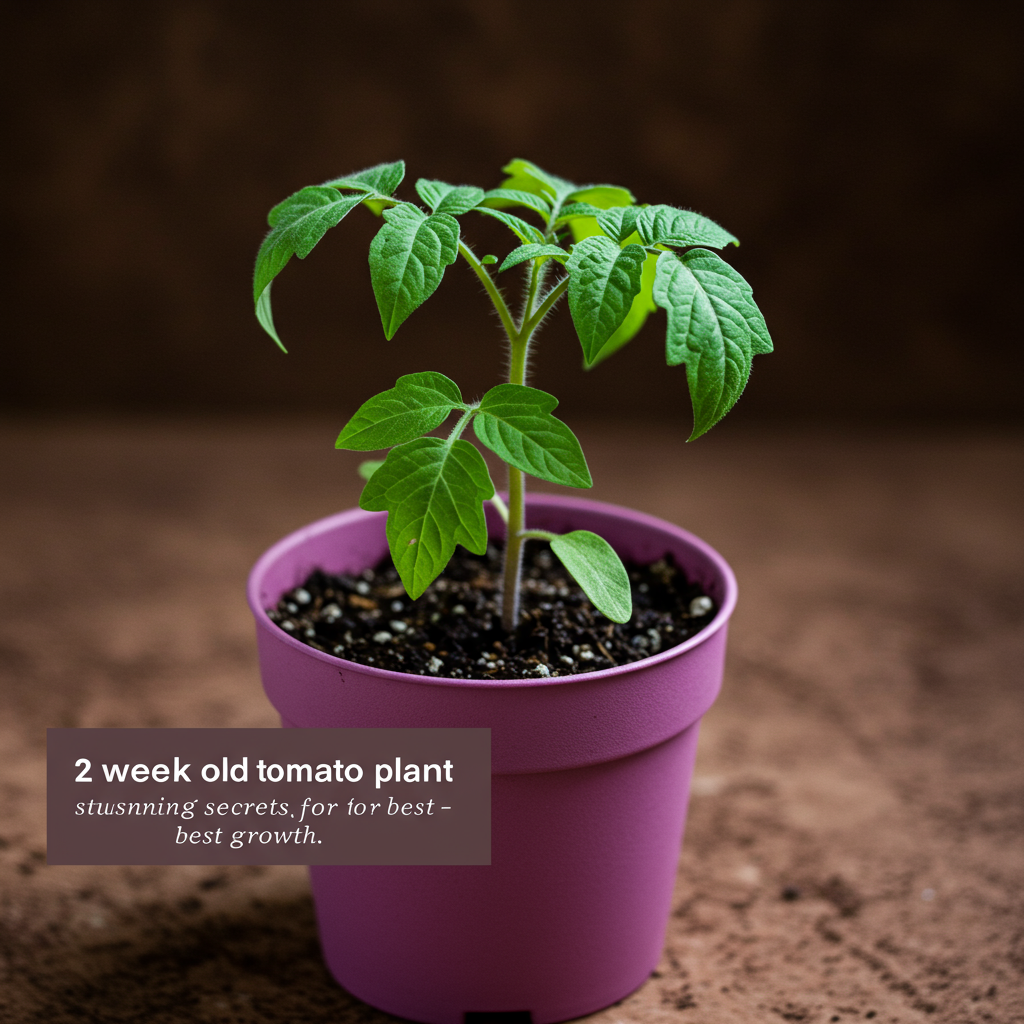
A 2 week old tomato plant is a beautiful sight, a tiny beacon of the bountiful harvest to come. At this tender stage, it has graduated from a fragile, barely-there sprout into a recognizable seedling, complete with its first set of true leaves. This two-week mark is arguably one of the most critical periods in a tomato plant’s life. The care and attention you provide now will directly impact its structural integrity, root development, and overall health for months to come. Forget just keeping it alive; we’re here to uncover the secrets that will help your young plant not just survive, but truly thrive.
This guide will walk you through everything you need to know about nurturing your tomato seedlings at this pivotal age. We’ll decode their appearance, master the essentials of light, water, and temperature, and reveal the advanced techniques that separate good gardens from great ones. Prepare to transform your tiny green seedlings into the foundation of a stunning and productive tomato jungle.
What a Healthy 2-Week-Old Tomato Plant Should Look Like
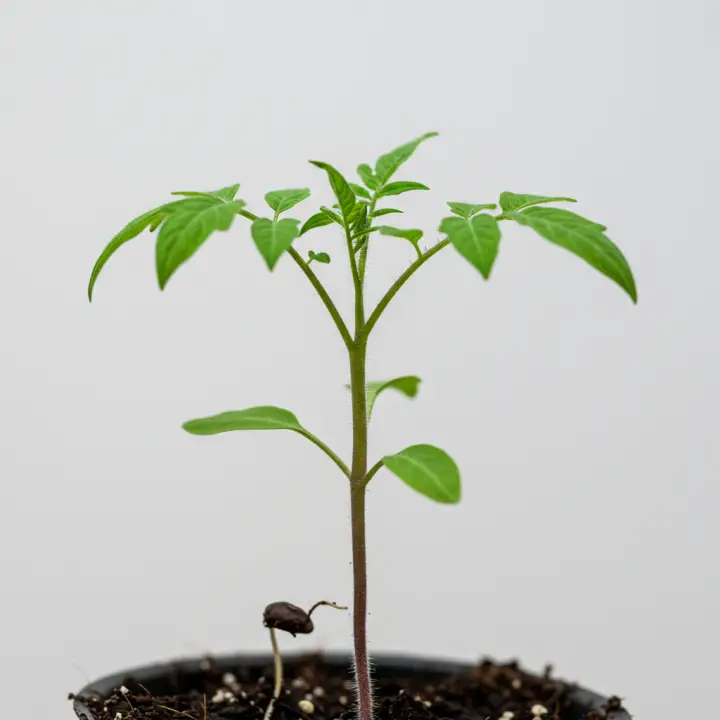
Before we dive into the “how-to,” it’s essential to establish a baseline. What are we aiming for? A healthy seedling at this stage has several distinct characteristics. Use this as a checklist to assess your own green babies.
Height and Stature: Ideally, your seedling should be between 2 and 4 inches tall. More important than height, however, is its stockiness. A thick, sturdy stem is far more desirable than a tall, skinny one.
The Leaves: Your plant will have two types of leaves.
Cotyledons: These are the first two simple, oval-shaped leaves that emerged from the seed. They are the plant’s embryonic leaves, providing initial energy. It’s normal for these to start yellowing and eventually fall off as the true leaves take over.
True Leaves: By two weeks, your plant should have its first set of “true leaves.” These will have the characteristic serrated, multi-lobed shape of a mature tomato leaf. The emergence of these leaves is a significant milestone, indicating the plant is ready to begin serious photosynthesis.
Color: The stem and true leaves should be a vibrant, healthy green. A deep green color signifies good chlorophyll production and access to nutrients. You might notice some purple tinges on the undersides of the leaves or on the stem; we’ll discuss what this means in the troubleshooting section.
The Stem: The stem should be robust and straight. If your seedling is long, pale, and stretching desperately towards the light, you have a condition called “legginess,” which we’ll need to correct immediately.
If your plant checks these boxes, congratulations! You’re providing an excellent foundation. If not, don’t worry—the following sections are designed to get your seedlings back on track.
The Foundation: Mastering the Essentials for Seedling Health
At this stage, a plant’s needs are simple but non-negotiable. Getting these three environmental factors right is 90% of the battle.
Secret #1: The Light Imperative
Inadequate light is the number one mistake beginner gardeners make with seedlings. A sunny windowsill is often not enough, especially during early spring days.
The Problem with “Legginess”: Without intense, direct light, tomato seedlings will engage in a process called etiolation. They rapidly stretch their stems, searching for a better light source. This results in weak, “leggy” plants that are prone to breaking and are less productive in the long run.
The Window Solution (If You Must): If a windowsill is your only option, it must be an unobstructed, south-facing window (in the Northern Hemisphere) that receives at least 6-8 hours of direct, bright sunlight. You must also rotate your seedlings a quarter-turn every single day to prevent them from leaning permanently in one direction.
The Grow Light Solution (The Real Secret): The foolproof way to raise stocky, healthy seedlings is with artificial grow lights. You don’t need an expensive, professional setup. A simple fluorescent shop light (T5 or T8 bulbs) or a full-spectrum LED light works wonders. Hang the light so it’s just 2-3 inches above the tops of your seedlings. Use the “hand test”: place your hand, palm down, on top of your plants. If the light feels uncomfortably warm, it’s too close.
Duration is Key: Your seedlings need a “day” and a “night.” Keep the grow lights on for 14 to 16 hours per day. An inexpensive outlet timer automates this process, giving you one less thing to worry about.
Secret #2: Intelligent Watering Practices
Overwatering is the second most common killer of young seedlings. Their roots are tiny and extremely susceptible to rot in waterlogged soil.
The Golden Rule: Water only when the soil begins to dry out. Never let it become bone-dry, but absolutely do not keep it perpetually soggy.
How to Check: The “finger test” is reliable. Gently press your finger about half an inch into the soil. If it feels dry, it’s time to water. Another great method is to learn the weight of your seedling trays. Pick one up when it’s freshly watered and then again when it’s dry. The difference is significant, and you’ll quickly learn to tell by weight when it’s time.
Bottom Watering is Best: This is a game-changing technique. Instead of watering from the top, which can compact the soil and promote fungal diseases on the stem, set your seedling pots or trays in a larger, shallow container of water. Let them sit for 15-30 minutes. The soil will absorb exactly what it needs through the drainage holes. Once the top of the soil is moist, remove them from the water tray. This encourages roots to grow downward, creating a much stronger root system.
Water Temperature: Use room-temperature water. Cold tap water can shock the delicate root system and stunt growth.
Secret #3: Perfecting Temperature and Airflow
Tomatoes are heat-loving plants, even as babies. But they also need a little stress to grow strong.
Ideal Temperatures: Aim for a daytime temperature between 65-75°F (18-24°C). At night, a slight drop to around 60°F (15°C) is beneficial and mimics natural conditions. A seedling heat mat can be helpful if your growing area is cold, but it’s often unnecessary if your home is kept at a comfortable temperature.
The Airflow Advantage: Constantly still air can lead to a fungal disease called “damping-off,” which causes the seedling stem to rot at the soil line. Furthermore, a plant that never faces any resistance will have a weak stem. The secret is to introduce a gentle breeze. Place a small, oscillating fan on its lowest setting and aim it near your seedlings for a few hours each day. You want to see their leaves gently rustling, not being battered by a gale. This gentle motion signals the plant to fortify its stem, resulting in a much stockier and more resilient plant.
Advanced Care for Your 2 Week Old Tomato Plant
Once you’ve mastered the big three, you can implement these next-level strategies to ensure your seedlings are getting the absolute best start.
To Feed or Not to Feed?
A common question is when to start fertilizing. Most high-quality seed-starting mixes contain a mild dose of nutrients sufficient for the first 2-3 weeks of life. The cotyledons also provide initial energy.
However, once the first set of true leaves has fully unfurled, the plant’s nutritional needs increase. This is the time to begin a very gentle feeding regimen.
Choose the Right Fertilizer: Use a balanced, water-soluble fertilizer formulated for seedlings or general-purpose use. Organic options like fish emulsion or liquid kelp are excellent choices.
Dilute, Dilute, Dilute! This is crucial. Use the fertilizer at quarter-strength or, at most, half-strength of the recommended dose on the package. Over-fertilizing can “burn” the delicate roots and do more harm than good.
Frequency: Feed your seedlings with this diluted solution about once a week in place of a regular watering.
The Critical “Potting Up” Process
Your seedlings will not stay in their tiny starter cells forever. Giving them more room to grow their roots is essential. This process is called “potting up.” While it might not happen at exactly two weeks, it’s often right around the corner, between weeks 2 and 4.
When to Pot Up: Look for these signs:
The seedling is three times taller than its container is deep.
You can see a web of roots when you gently pop the seedling out of its cell.
Roots are starting to grow out of the drainage holes.
The plant has two or three sets of true leaves.
The Tomato Stem Secret: Here’s a magical trick specific to tomatoes. When you transplant your seedling into its new, larger pot (e.g., a 4-inch pot or a solo cup with drainage holes), you can bury a significant portion of its stem. Tiny hairs along the tomato stem, called adventitious roots, will transform into new roots when buried in soil.
* The Method:** Prepare the new pot with moist potting soil. Gently remove the seedling from its original cell. If it has any lower leaves (especially the cotyledons if they haven’t fallen off), carefully pinch them off. Place the seedling into the new pot and fill with soil right up to the lowest remaining set of leaves. This technique creates an incredibly deep and robust root system, which is the key to a drought-resistant and highly productive mature plant.
Troubleshooting Common Seedling Issues
Even with the best care, you might encounter