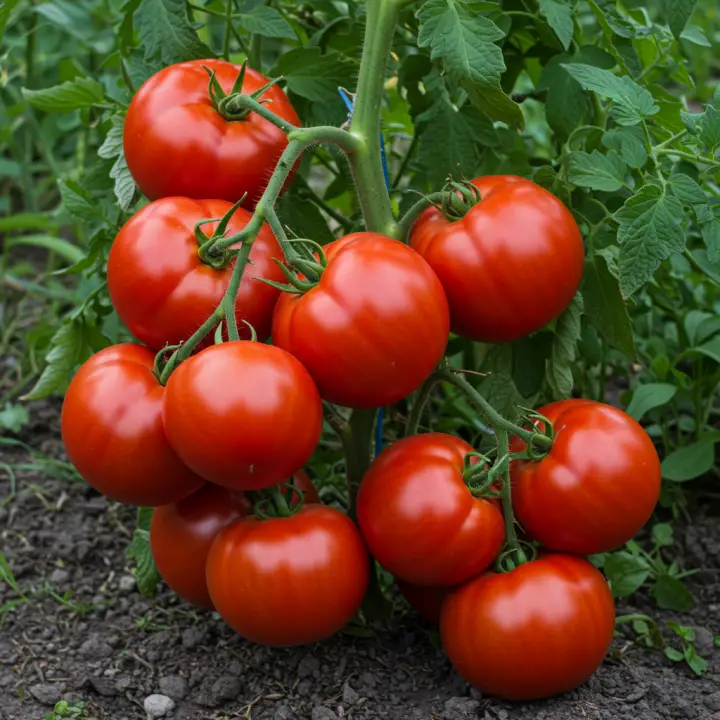
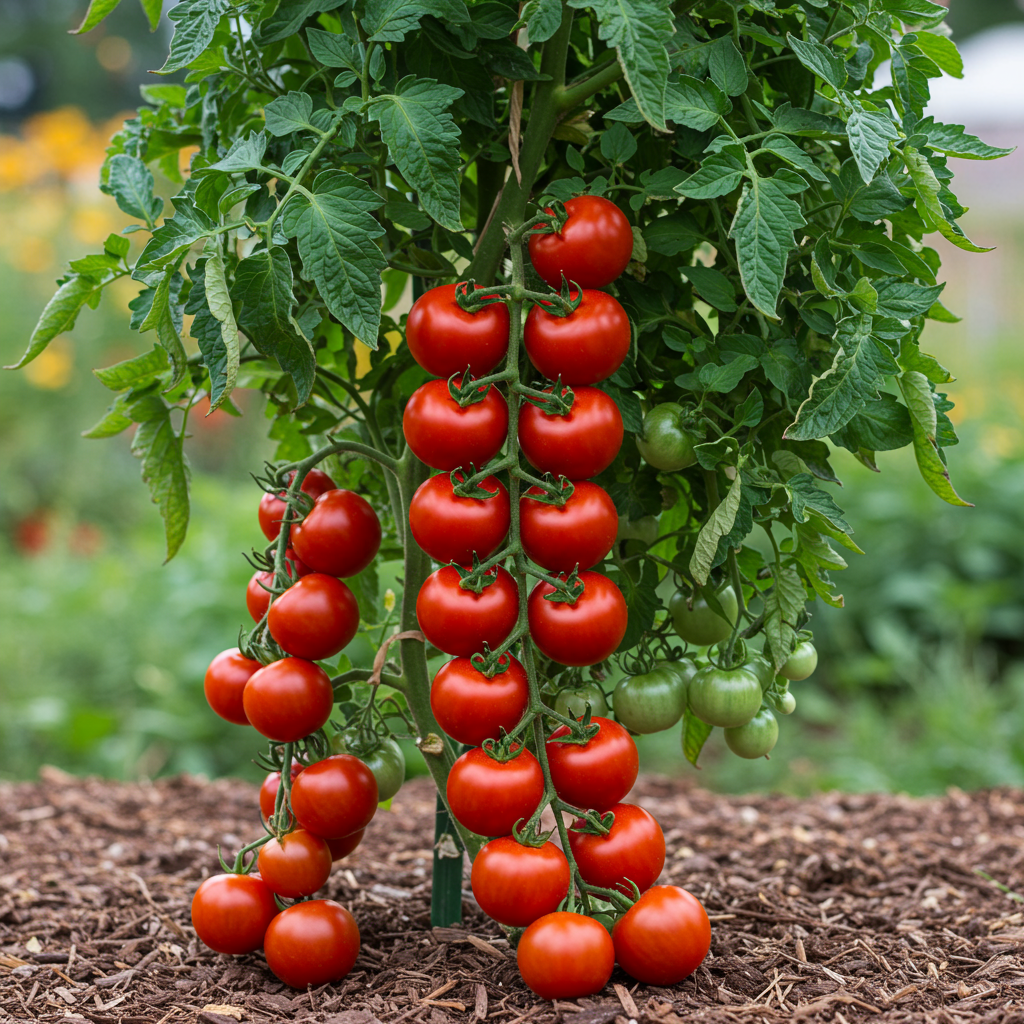
Tomato plants are the crown jewel of the home garden, a symbol of summer’s bounty and culinary delight. For many gardeners, the quest is not just for any tomato, but for large, vigorous plants laden with an abundance of perfectly ripe, flavorful fruit. Every year, gardeners trade tips and secrets, hoping to unlock the formula for that picture-perfect harvest. They wonder if the secret lies in a special fertilizer, a complex pruning technique, or some forgotten heirloom wisdom. But what if the single most impactful secret to achieving giant growth was also one of the easiest to implement?

The truth is, growing truly impressive tomato plants isn’t about a single magic bullet. It’s about building a powerful foundation that allows the plant to reach its full genetic potential. This foundation isn’t built above ground with sprays and stakes, but below the surface, in the dark, rich soil where the plant’s life force resides. The easiest, most profound secret to giant growth is creating an expansive, super-efficient root system from the moment you plant.
This comprehensive guide will walk you through this foundational secret and all the supporting pillars required to turn your modest tomato seedlings into towering, fruit-producing powerhouses. Forget complicated schedules and expensive products; let’s get back to the fundamentals that yield extraordinary results.
The True Secret: A Super-Sized Root System
The portion of your tomato plant that you see—the leaves, the stems, the fruit—is entirely dependent on the hidden world beneath the soil. The roots are the plant’s engine. They anchor it, draw up water, and absorb the essential nutrients needed for every single function, from photosynthesis to fruit development. It stands to reason, then, that a bigger, more robust engine can support a bigger, more productive machine.
Most gardeners dig a hole just large enough for the seedling’s root ball, place it in, and backfill the soil. This works, but it’s a missed opportunity. The stem of a tomato plant has a remarkable ability: when buried, it will sprout new roots all along its length. These are called adventitious roots. By encouraging the growth of these extra roots, you are effectively supercharging your plant’s foundation. Instead of one small root ball, you are creating a massive, sprawling network that can forage for water and nutrients from a much larger volume of soil.
This is the secret: plant your tomato stems deep. There are two primary methods to achieve this, both of which are incredibly simple and effective.
The Deep Hole Method
This is the most straightforward approach. Simply dig a hole that is significantly deeper than the plant’s current container—deep enough to bury about two-thirds of the plant’s main stem.
1. Prepare the Plant: A few hours before planting, water your seedling well. This minimizes transplant shock.
2. Prune the Lower Leaves: Carefully pinch or snip off the lowest sets of leaves from the main stem, leaving only the top cluster of healthy leaves. Any part of the stem that will be buried should be bare.
3. Dig the Hole: Dig a hole deep enough so that when you place the plant inside, the soil level will be just below the remaining leaves.
4. Plant and Backfill: Place the plant in the hole and gently fill it with amended soil, lightly tamping it down to remove air pockets.
5. Water Thoroughly: Give the newly planted tomato a deep, slow watering to help the soil settle and provide moisture to the newly forming roots.
The Trench Method
This technique is ideal for gardeners with rocky or hard clay soil where digging deep is a challenge. It’s also perfect for leggy seedlings that have grown too tall and spindly indoors.
1. Prepare the Plant: Just as with the deep hole method, water the seedling and pinch off the lower leaves along the stem you intend to bury.
2. Dig a Trench: Instead of a deep hole, dig a shallow trench about 6 inches deep and long enough to accommodate the plant’s stem laying on its side.
3. Lay it Down: Gently bend the stem and lay the plant down in the trench, allowing the top leafy portion to curve upwards and out of the trench. Be careful not to snap the stem.
4. Bury and Backfill: Cover the buried stem with your prepared soil, leaving the top of the plant exposed to the sun.
5. Water Well: Water the entire length of the trench to encourage rooting all along the buried stem. The top of the plant will correct itself and grow straight up towards the sun within a day or two.
By using either of these methods, you are creating a plant with a root system that is double or even triple the size of one planted conventionally. This super-sized root network makes your plant more drought-tolerant, more stable in wind, and exponentially better at absorbing the nutrients it needs for explosive growth.
Setting the Stage: Soil is Everything
Planting deep is the key technique, but it will only be effective if the roots have a welcoming environment to grow into. The highest quality soil is non-negotiable for achieving a giant harvest. Tomato plants are heavy feeders and require soil that is rich, well-draining, and teeming with life.
What Makes Perfect Tomato Soil?
Rich in Organic Matter: Compost is the single best amendment you can add to your garden. It provides a slow-release source of a wide range of nutrients, improves soil structure, helps retain moisture, and feeds the beneficial microbes that make nutrients available to your plants.
Excellent Drainage: Tomatoes hate “wet feet.” Soil that stays waterlogged can lead to root rot and other diseases. If you have heavy clay soil, amend it with compost, peat moss, or coconut coir to improve its texture and allow excess water to drain away.
Slightly Acidic pH: Tomato plants thrive in a soil pH between 6.2 and 6.8. Most garden soils fall within this range, but it’s wise to perform a simple soil test. You can amend soil that is too alkaline with sulfur or one that is too acidic with garden lime.
Loose and Friable: The soil should be light and airy, not compacted. This allows roots to easily penetrate and expand, and ensures proper oxygen flow, which is crucial for root health.
Before you even think about planting, spend time preparing your garden bed. Work in 2-4 inches of high-quality compost, aged manure, or other organic matter, turning it into the top 8-12 inches of your soil. This initial investment in soil preparation will pay dividends all season long.
Essential Care for Healthy Tomato Plants: The Supporting Pillars
With a superior root system established in perfect soil, your tomato plants are primed for success. Now, you need to provide consistent care to support their rapid growth and heavy fruit production.
1. Consistent and Deep Watering
Inconsistent watering is the enemy of a healthy tomato plant. It can lead to problems like blossom-end rot and cracked fruit.
Water Deeply, Not Daily: Instead of giving your plants a light sprinkle every day, provide a deep, thorough soaking 1-3 times per week, depending on the heat and humidity. The goal is to encourage roots to grow deeper in search of water, making the plant more resilient.
Water the Soil, Not the Leaves: Wetting the foliage, especially in the evening, creates an ideal environment for fungal diseases like blight. Use a soaker hose or water wand to apply water directly to the base of the plant.
Mulch, Mulch, Mulch: Apply a 2-3 inch layer of organic mulch (straw, shredded leaves, or wood chips) around the base of your plants. Mulch is a game-changer: it suppresses weeds, conserves soil moisture by reducing evaporation, and regulates soil temperature.
2. Strategic Fertilization
Because they grow so quickly and produce so much fruit, tomato plants are heavy feeders. Providing them with the right nutrients at the right time is critical.
Understanding N-P-K: Fertilizers are labeled with three numbers representing Nitrogen (N), Phosphorus (P), and Potassium (K).
Nitrogen (N): Promotes lush, green leafy growth.
Phosphorus (P): Crucial for root development, flowering, and fruit setting.
Potassium (K): Essential for overall plant vigor, disease resistance, and fruit quality.
Feeding Schedule:
At Planting Time: If your soil is well-amended with compost, you may not need any extra fertilizer right away. If your soil is average, you can add a balanced, slow-release organic fertilizer (e.g., 5-5-5) to the planting hole.
When Fruit Appears: Once the plant starts setting its first small fruits, switch to a fertilizer that is lower in nitrogen and higher in phosphorus and potassium (e.g., 5-10-10). Too much nitrogen at this stage will give you a giant, leafy plant with very few tomatoes.
Ongoing Feeding: Feed your plants every 3-4 weeks throughout the growing season according to the package directions on your chosen fertilizer. Liquid fertilizers like fish emulsion or kelp meal can also be used for a quick nutrient boost.
3. Support and Pruning
Giant tomato plants need a strong support system to keep them off the ground. Unsupported plants are more susceptible to pests, diseases, and their fruit is more likely to rot.
Stakes vs. Cages: Sturdy stakes or tall, robust tomato cages are both excellent options. Install them at the time of planting to avoid damaging the now-extensive root system later. As the plant grows, use soft garden ties to loosely secure the main stems to the support.
To Prune or Not to Prune: Pruning “suckers”—the small shoots that grow in the V-shape between the main stem and a branch—is a topic of debate.
* Pruning:** Removing suckers (especially the lower ones) improves air circulation, which helps prevent disease.

