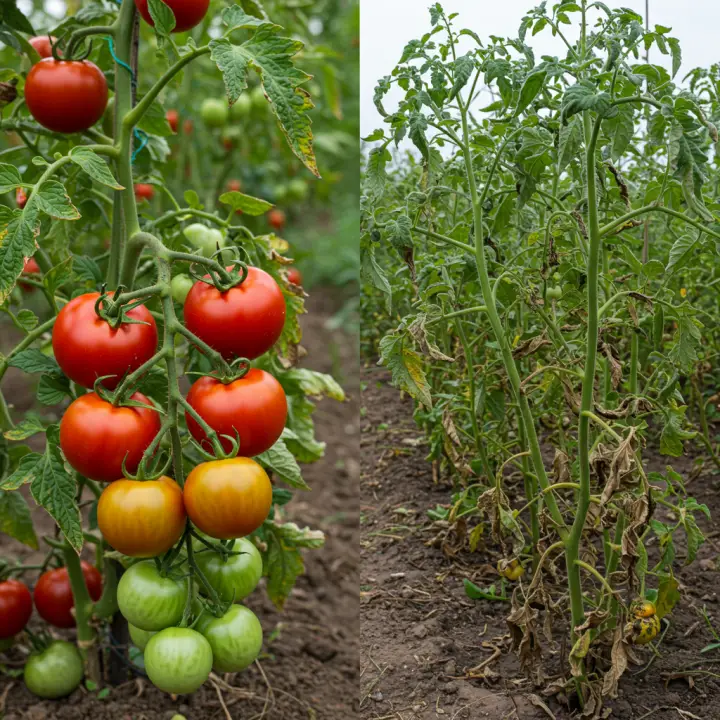
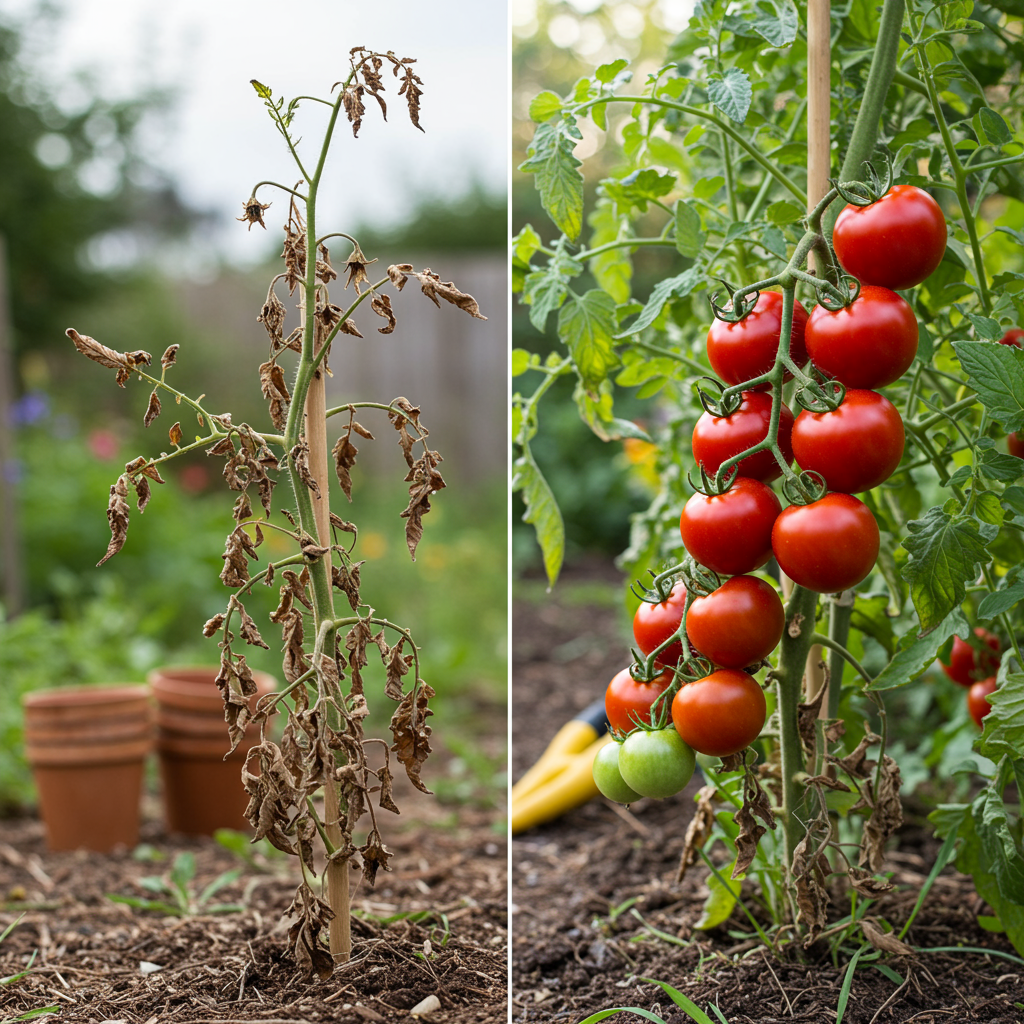
Tomato planting is a rite of passage for many gardeners, a symbol of summer’s promise culminating in the unparalleled taste of a sun-ripened, homegrown fruit. The dream is a kitchen counter overflowing with juicy, vibrant tomatoes. The reality, for many, is a season of frustration, battling yellowing leaves, stunted plants, and a disappointing lack of fruit. The difference between these two scenarios rarely comes down to a “green thumb,” but rather to avoiding a series of common, and often devastating, mistakes.
These pitfalls can trip up even seasoned gardeners, turning a season of potential into a lesson in what not to do. But by understanding the core needs of a tomato plant—from its roots to its leaves—you can sidestep these errors and set yourself up for a truly spectacular harvest. This comprehensive guide will walk you through the most critical mistakes made during the tomato planting process and provide you with the knowledge to cultivate healthy, productive, and delicious tomatoes year after year.
Mistake #1: Choosing the Wrong Location

Before you even purchase a seed or a seedling, the single most important decision you will make is where your tomatoes will live. Underestimating their need for sunlight is arguably the most fundamental error a gardener can make.
Why It’s a Problem: Tomatoes are solar-powered fruit factories. Photosynthesis, the process by which plants convert light into energy, is the engine that drives all growth, from developing strong stems to producing the sugars that make tomatoes sweet and flavorful. Without adequate sunlight, this engine sputters.
The Devastating Result: Plants grown in insufficient light become “leggy,” stretching desperately towards the sun, resulting in thin, weak stems. They will have sparse foliage, be more susceptible to disease, and—most disappointingly—will produce very few, if any, blossoms. Without blossoms, there can be no fruit.
How to Do It Right:
The 8-Hour Rule: Your tomato patch needs a location that receives a minimum of 6 to 8 hours of direct, unfiltered sunlight per day. More is almost always better.
Observe Your Yard: Before you start digging, spend a day observing your garden. Note which areas get morning sun (gentler) and which get the intense afternoon sun. Track how shadows from trees, your house, or a neighbor’s fence move across the area throughout the day.
Container Gardening as a Solution: If your yard is mostly shady, don’t despair. Grow your tomatoes in large containers (at least 5 gallons, but 10-15 gallons is better). This allows you to place them on a sunny patio, deck, or driveway and even move them around to “chase the sun” if necessary.
Mistake #2: Ignoring Soil Preparation
Planting a robust seedling into poor, unprepared soil is like building a beautiful house on a crumbling foundation. The soil is not just dirt; it is the life-support system for your plant, providing water, oxygen, nutrients, and stability.
Why It’s a Problem: Compacted, heavy clay soil prevents roots from expanding and can become waterlogged, leading to root rot. Sandy soil drains too quickly, washing away water and nutrients before the plant can absorb them. Soil that is depleted of organic matter lacks the essential nutrients tomatoes need to thrive.
The Devastating Result: Plants in poor soil will be stunted and weak. They may display yellowing leaves (a sign of nutrient deficiency) and will be highly susceptible to pests and diseases like blossom end rot. The overall yield will be significantly reduced.
How to Do It Right:
Amend, Amend, Amend: Whether you have clay or sandy soil, the solution is the same: add organic matter. Generously mix 2-4 inches of high-quality compost, well-rotted manure, or aged leaf mold into the top 8-12 inches of your garden bed. This improves drainage in clay soil and enhances water retention in sandy soil, all while providing a slow-release source of vital nutrients.
Check the pH: Tomatoes prefer a slightly acidic soil pH, ideally between 6.2 and 6.8. You can buy a simple soil test kit from any garden center. If your soil is too alkaline, you can add garden sulfur; if it’s too acidic, add garden lime.
For Containers: Use a high-quality potting mix, not garden soil. Garden soil becomes extremely compacted in pots, choking the roots. Look for a mix designed for containers and vegetables, which will provide the right balance of drainage and water retention.
Mistake #3: Not Hardening Off Your Seedlings
You’ve carefully nurtured your tomato seedlings indoors for weeks. They look green and healthy under the gentle glow of your grow lights. It’s a warm, sunny day, so you decide to plant them directly into the garden. Within days, they are withered, sunburned, and dying. This tragic outcome is the result of skipping one crucial step: hardening off.
Why It’s a Problem: Indoor seedlings are accustomed to a gentle, stable environment. They have never felt direct sun, whipping wind, or fluctuating temperatures. Moving them directly outdoors is an immense shock to their system. The tender leaves are not prepared for intense UV rays, and the stems are not strong enough to withstand the wind.
The Devastating Result: Transplant shock is the most common result. You’ll see scorched, white leaves (sunscald), broken stems, and severely wilted plants. In many cases, the seedlings will not recover and will die within a week.
How to Do It Right:
Hardening off is a gradual process of acclimating seedlings to outdoor conditions over 7-14 days.
Day 1-2: Place seedlings outside in a shaded, protected spot for 1-2 hours.
Day 3-4: Move them into a spot with dappled sunlight or morning sun for 2-3 hours.
Day 5-6: Increase their time outside to 4-5 hours, including a couple of hours of direct midday sun.
Day 7 and beyond: Gradually increase their exposure to direct sun and wind until they can stay outside for a full day. Always bring them in if temperatures are forecast to drop near freezing. Once they have spent a full 24 hours outside without issue, they are ready for planting.
—
Key Steps for Successful Tomato Planting
Once your location is chosen, your soil is prepared, and your seedlings are hardened off, the actual act of planting is your final opportunity to give your tomatoes a powerful head start. Getting these details right will pay dividends all season long.
—
Mistake #4: Planting Too Shallow
With most plants, you are taught to plant them at the same depth they were in their pot. Tomatoes are the wonderful exception to this rule, and failing to take advantage of their unique ability is a massive missed opportunity.
Why It’s a Problem: Look closely at the stem of a tomato seedling. You’ll see tiny, fuzzy hairs. These are not just for show; they can all become roots! These are called adventitious roots. By planting the stem deep, you encourage the plant to develop a much larger, more robust root system than it would otherwise.
The Devastating Result: A shallow-planted tomato will have a less extensive root system. This makes it less stable in the wind and, more importantly, less efficient at finding and absorbing water and nutrients from the soil. This can lead to a weaker plant that struggles during dry spells or heat waves.
How to Do It Right:
Go Deep: Dig a hole deep enough so that you can bury the tomato plant up to its first set of true leaves.
Pinch the Lower Leaves: Carefully pinch off the bottom one or two sets of leaves from the seedling. Every spot where you removed a leaf will be a prime location for new roots to sprout.
The Trench Method:** If your seedling is particularly tall and “leggy,” digging a hole deep enough can be difficult. Instead, dig a shallow trench a few inches deep. Lay the seedling down in the trench, gently curving the top part of the stem upwards. Bury the stem, leaving the top 4-5 inches of the plant exposed

