An upside down tomato planter offers a revolutionary approach to gardening, transforming the way we think about growing one of the world’s most beloved fruits. For urban dwellers with limited balcony space, gardeners tired of bending and weeding, or anyone seeking an innovative and efficient cultivation method, this gravity-defying technique presents a compelling solution. It’s not just a novelty; when done correctly, it can lead to healthier plants and surprisingly abundant harvests. This comprehensive guide will explore the mechanics, benefits, potential challenges, and expert tips you need to succeed with this unique gardening marvel.
What Exactly Is This Gravity-Defying Method?
At its core, the concept is simple: instead of planting a tomato in the ground or in the top of a pot, you grow it through a hole in the bottom of a suspended container. The container, typically a specialized bag or a repurposed bucket, is filled with soil and hung from a sturdy support like a porch beam, a strong hook, or a dedicated stand. The young tomato plant is carefully threaded through the hole at the bottom, with its roots secured inside the soil-filled container.
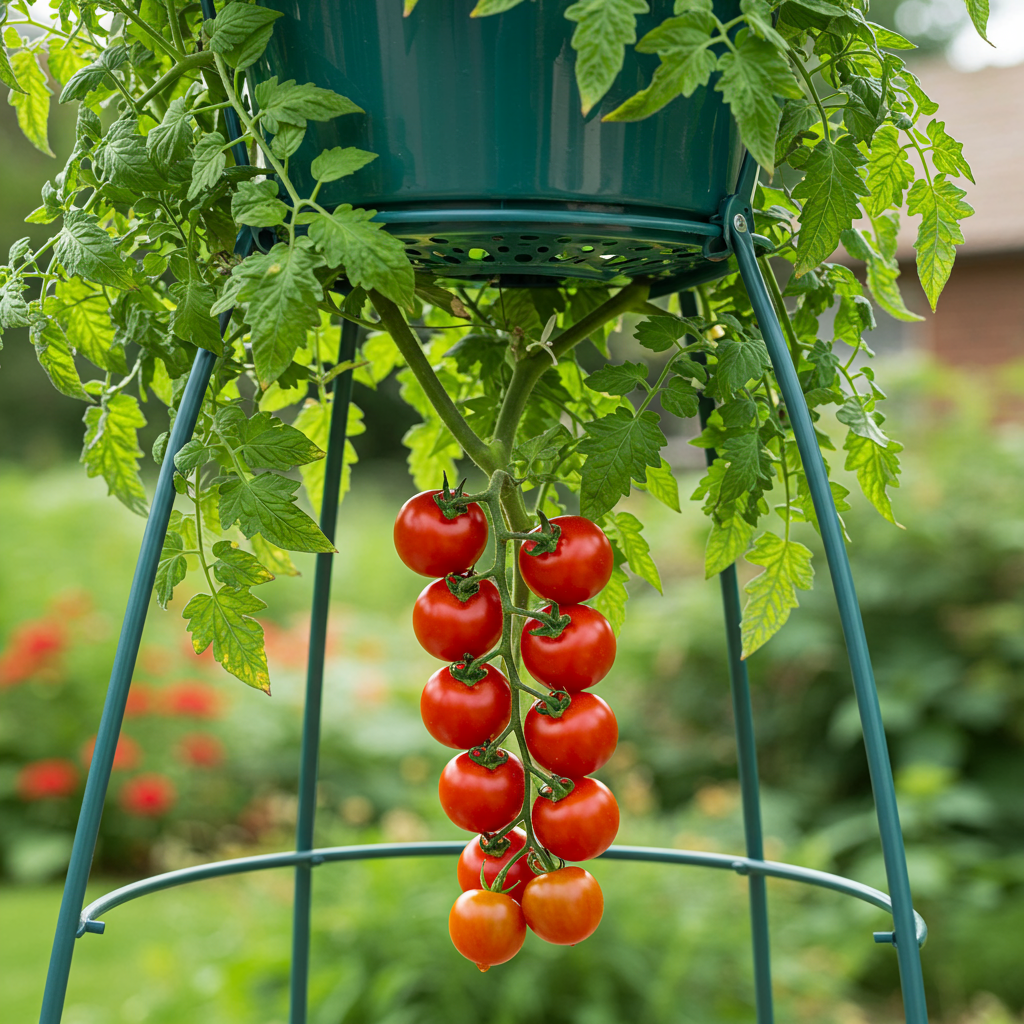
How does it work? The plant’s natural phototropism—its instinct to grow towards light—causes the stem to curve upwards, forming a “U” shape as it reaches for the sun. Meanwhile, gravity works in your favor. Water and nutrients applied to the top of the container percolate directly down to the root zone, ensuring efficient delivery and minimizing waste from runoff or evaporation. The fruits that develop hang straight down, suspended in the air, which leads to a host of unique advantages that traditional gardening can’t always offer.
The Overwhelming Benefits: Why Gardeners are Turning Topsy-Turvy
The popularity of growing tomatoes upside down isn’t just a fleeting trend. It’s rooted in a series of practical benefits that address some of the most common gardening frustrations.
1. Unmatched Space Efficiency
This is arguably the biggest draw. For those with nothing more than a small balcony, a patio, or a sunny doorway, upside down planters make growing fresh tomatoes possible. They utilize vertical space, which is often abundant and unused. You can have a thriving vegetable garden without a single square foot of yard, making it the ultimate solution for urban and apartment gardening.
2. A Farewell to Weeding, Staking, and Caging
Three of the most tedious tasks in traditional tomato gardening are virtually eliminated.
No Weeding: Since the plant isn’t in the ground, competition from invasive weeds is nonexistent.
No Staking or Caging: In a conventional garden, you need stakes or cages to support the weight of the growing plant and its fruit, preventing stems from breaking and keeping tomatoes off the ground. In an upside down system, gravity does the supporting for you. The stems and fruit hang freely, requiring no additional structures.
3. Drastically Reduced Pest and Disease Problems
Elevating your tomato plants immediately removes them from the primary danger zone for many common garden adversaries.
Ground Pests: Pests like cutworms, slugs, and snails, which travel along the soil surface, cannot reach your plants.
Soil-Borne Diseases: Many devastating fungal and bacterial diseases, such as Fusarium wilt and Verticillium wilt, live in the soil and infect plants through their roots or by splashing onto lower leaves during rainfall. By using fresh, sterile potting mix in a suspended container, you create a protected environment, significantly lowering the risk of infection.
4. Superior Air Circulation and Drainage
Hanging in the open air provides the plant with 360-degree air circulation. This is crucial for preventing common fungal issues like early blight and powdery mildew, which thrive in stagnant, humid conditions often found in dense garden patches. Furthermore, gravity ensures that excess water drains away freely, making it nearly impossible to overwater or create the waterlogged root conditions that lead to root rot.
5. Effortless and Accessible Harvesting
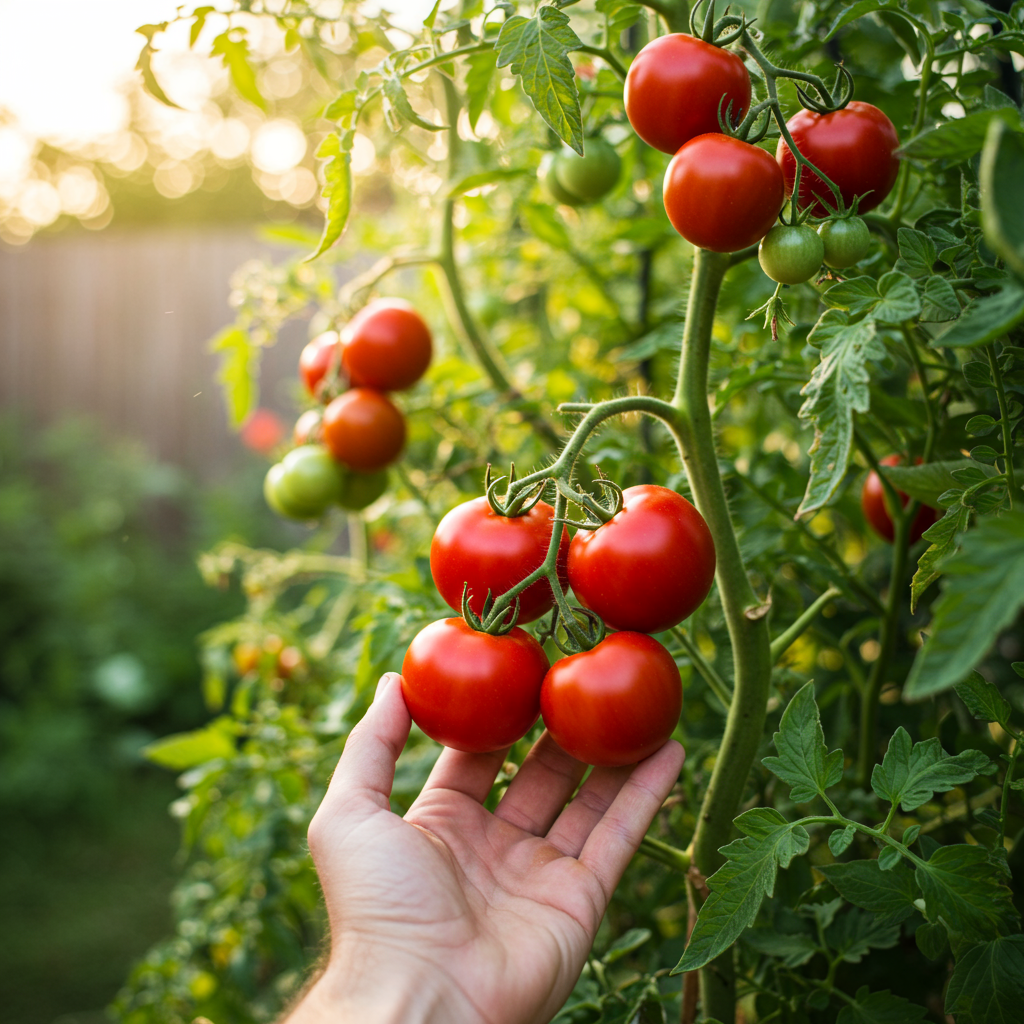
The harvest is one of the most rewarding parts of gardening, and this method makes it easier than ever. The tomatoes hang down in plain sight, ripening evenly in the sun. There’s no need to bend over or rummage through dense foliage to find mature fruit. You can simply walk up and snip them off at eye level, a significant ergonomic advantage for gardeners with back or mobility issues.
A Look at the Flip Side: Potential Challenges and Considerations
While the benefits are significant, it’s crucial to approach this method with a clear understanding of its potential drawbacks. Being prepared for these challenges is the key to success.
The Watering Demand is High: This is the single most critical factor. Hanging containers are exposed to sun and wind from all sides, causing them to dry out much faster than pots on the ground. During hot, sunny, or windy weather, you will likely need to water your planter every single day. Neglecting this for even a day or two can stress or kill the plant.
Weight and Support: A five-gallon container filled with damp soil and a maturing tomato plant can weigh 50-60 pounds (or more). You absolutely must have a robust, secure support system. A flimsy shepherd’s hook is not enough. A strong structural beam, a well-anchored bracket, or a heavy-duty stand specifically designed for this purpose is essential to prevent a dangerous accident.
Limited Plant Varieties: This method is not suitable for all types of tomatoes. Large, sprawling indeterminate varieties like ‘Beefsteak’ or ‘Brandywine’ can become too heavy and long, potentially snapping the main stem at the exit point of the container.
Initial Potting Can Be Awkward: Gently feeding a delicate seedling through the bottom of a container without breaking its stem or damaging its roots requires a bit of finesse. It’s a one-time task, but it can be tricky for beginners.
Choosing the Best Varieties for Your Upside Down Tomato Planter
Success starts with selecting the right kind of tomato. The ideal candidates are determinate or dwarf varieties. Determinate tomatoes grow to a fixed, compact, bushy size, produce their fruit over a few weeks, and then stop growing. This manageable size is perfect for the constraints of a hanging container.
Here are some excellent choices:
Cherry & Grape Tomatoes: These are the all-stars of upside down gardening. Their small fruit size means the overall weight on the vine is low.
‘Tumbling Tom’ (Red or Yellow): As the name suggests, this variety was practically bred for hanging baskets and planters. It has a natural cascading habit.
Tiny Tim’: A very compact dwarf variety that produces an abundance of small, sweet cherry tomatoes.
‘Hundreds & Thousands’: Lives up to its name with a massive yield of tiny, currant-sized tomatoes.
Smaller Paste Tomatoes: Varieties with smaller, lighter fruit are also good options.
‘Roma VF’: A classic determinate paste tomato. While slightly larger, its compact growth habit makes it a viable choice.
Patio Varieties: Look for any variety with “patio,” “dwarf,” or “bush” in its name, as these have been bred for compact growth in containers.
Getting Started: A Step-by-Step Guide
You can either purchase a commercially available planter or easily make your own.
Option 1: The DIY Upside Down Tomato Planter
Creating your own is cost-effective and rewarding.
You Will Need:
A 5-gallon bucket with a tight-fitting lid (food-grade is best)
A drill with a 2-inch hole saw bit
Heavy-duty eye bolt, washers, and a nut, or a strong chain/cable system
A healthy tomato seedling of a suitable variety
High-quality, lightweight potting mix (not garden soil)
Slow-release fertilizer
A small piece of sponge, foam, or landscape fabric
Instructions:
1. Prepare the Bucket: Drill a 2-inch hole in the exact center of the bucket’s bottom. Then, drill a few smaller drainage holes around the main hole.
2. Install the Hanger: Drill a hole in the center of the lid. Secure your eye bolt through the lid with washers and a nut. Alternatively, drill two or three holes around the rim of the bucket and attach a sturdy chain for hanging.
3. Prepare the Plant: Gently remove the tomato seedling from its nursery pot. If it’s tall, you may want to trim off the lowest set of leaves. Carefully wrap the root ball in a paper towel to hold it together.
4. Insert the Seedling: This is the delicate part. From the outside of the bucket, gently push the leafy part of the plant through the 2-inch hole so the root ball is now inside the bucket. Once inside, remove the paper towel.
5. Secure the Stem: To prevent the plant from falling out and to block soil from leaking, cut a slit in a piece of sponge or foam and fit it around the stem inside the bucket, plugging the hole. Landscape fabric can also be used.
6. Fill with Soil: Turn the bucket upright and begin filling it with your potting mix, which you have pre-mixed with a slow-release fertilizer. Lightly pack the soil around the root ball. Fill to within a few inches of the top.
7. Water and Hang:** Water the soil thoroughly until you see it begin to drip from the bottom. Snap the lid on top to reduce evaporation and hang your planter in a location that receives at least 6-8 hours of direct sunlight per day.